At the start of year four, we were prompted to solve a problem. Any problem. Solving this problem evolved into a year long project. My chosen problem was 3D printers - a technology that is severely underused and misunderstood by most people. The goal of the project was twofold: give people a greater understanding of the technology, and give them a place to learn how to use the printers. That is the goal of Plaforge.
I chose the name Plaforge as it has many meanings. A forge is of course a place where things are made. Pla has two meanings. With the macron, it sounds like play - Plaforge is a place to play and experiment. It also represents PLA, the most common plastic used in 3D printing.
I took the name and developed the imaginary company. PlaForge runs 3D printing focused Makerspaces along Vancouver Island. One of their main focuses as a organization is educating people on technology and giving people more access to it. To pursue this goal, PlaForge works with schools to provide presentations and workshops to students. Alongside these services, PlaForge also provides teachers with tools to better use their 3D printers in the classroom.
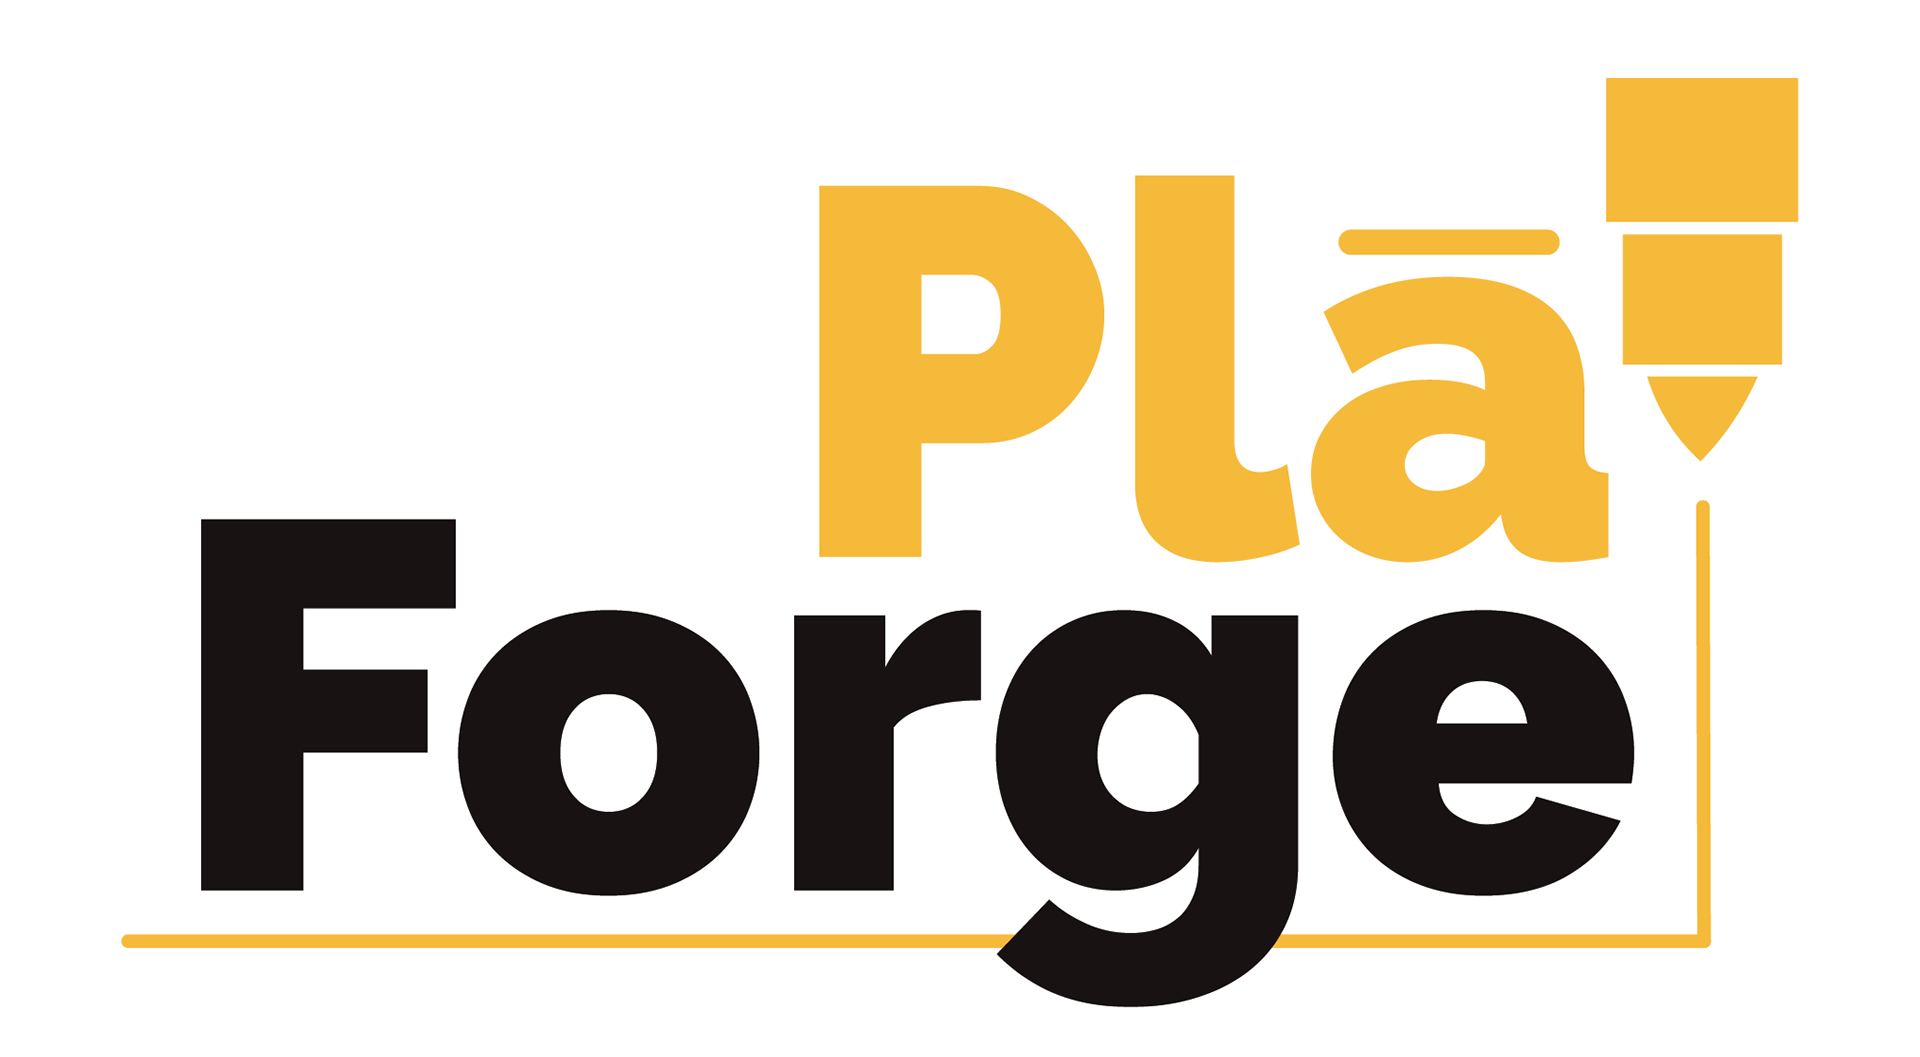
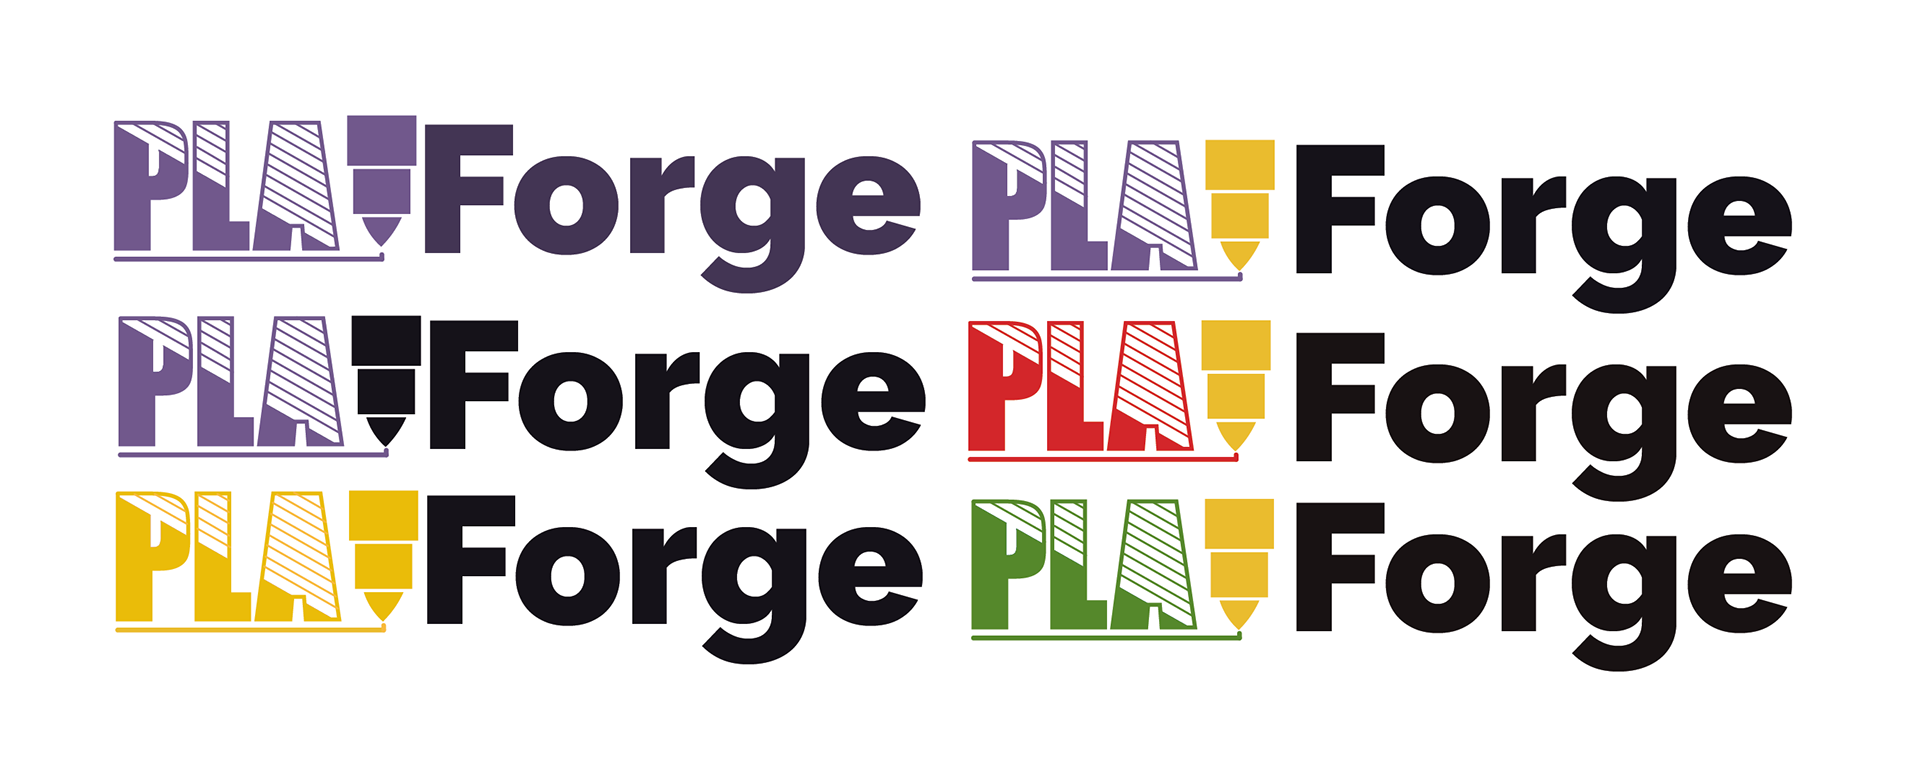
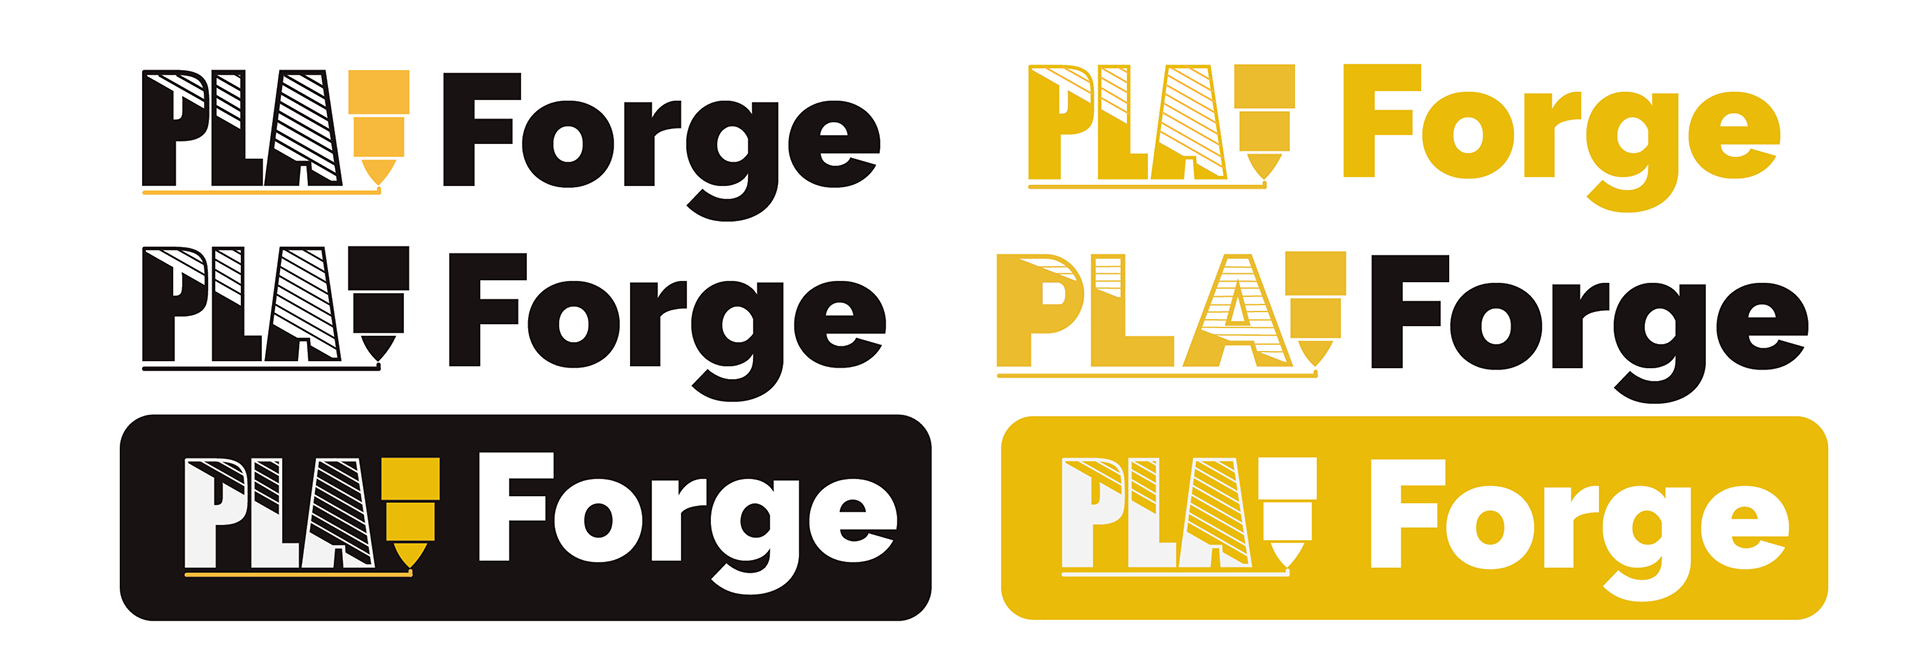
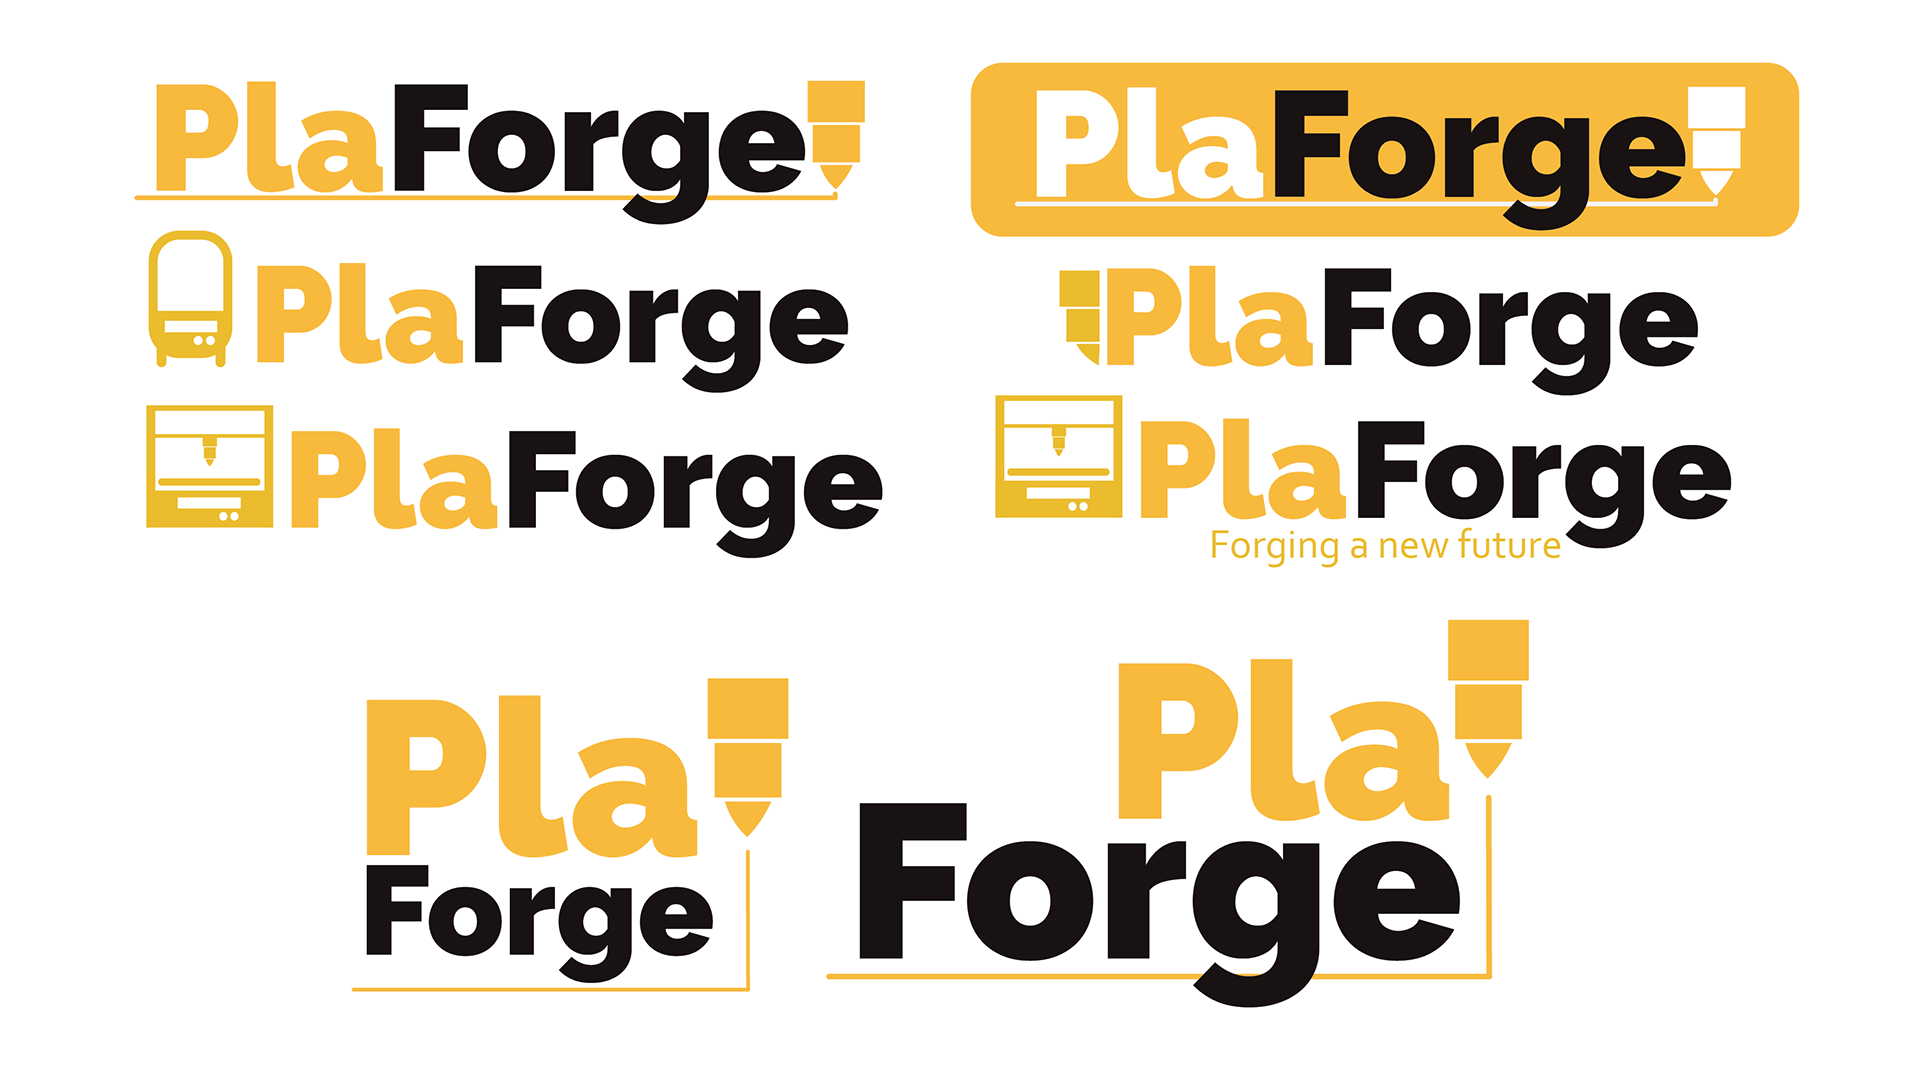
The logo took multiple iterations. I worked in Illustrator, building the next version on top of the last. I originally started with purple as the brand colour, signifying the fantasy and uniqueness of what you can do in the makerspace. This gave way to the final yellow colour. The soft yellow helps to show joy, curiosity, and creativity. The yellow is also linked to construction. The text rests on a 3D printed line, with a print head in the middle of printing a box around it.
The logo took multiple iterations. I worked in Illustrator, building the next version on top of the last. I originally started with purple as the brand colour, signifying the fantasy and uniqueness of what you can do in the makerspace. This gave way to the final yellow colour. The soft yellow helps to show joy, curiosity, and creativity. The yellow is also linked to construction. The text rests on a 3D printed line, with a print head in the middle of printing a box around it.
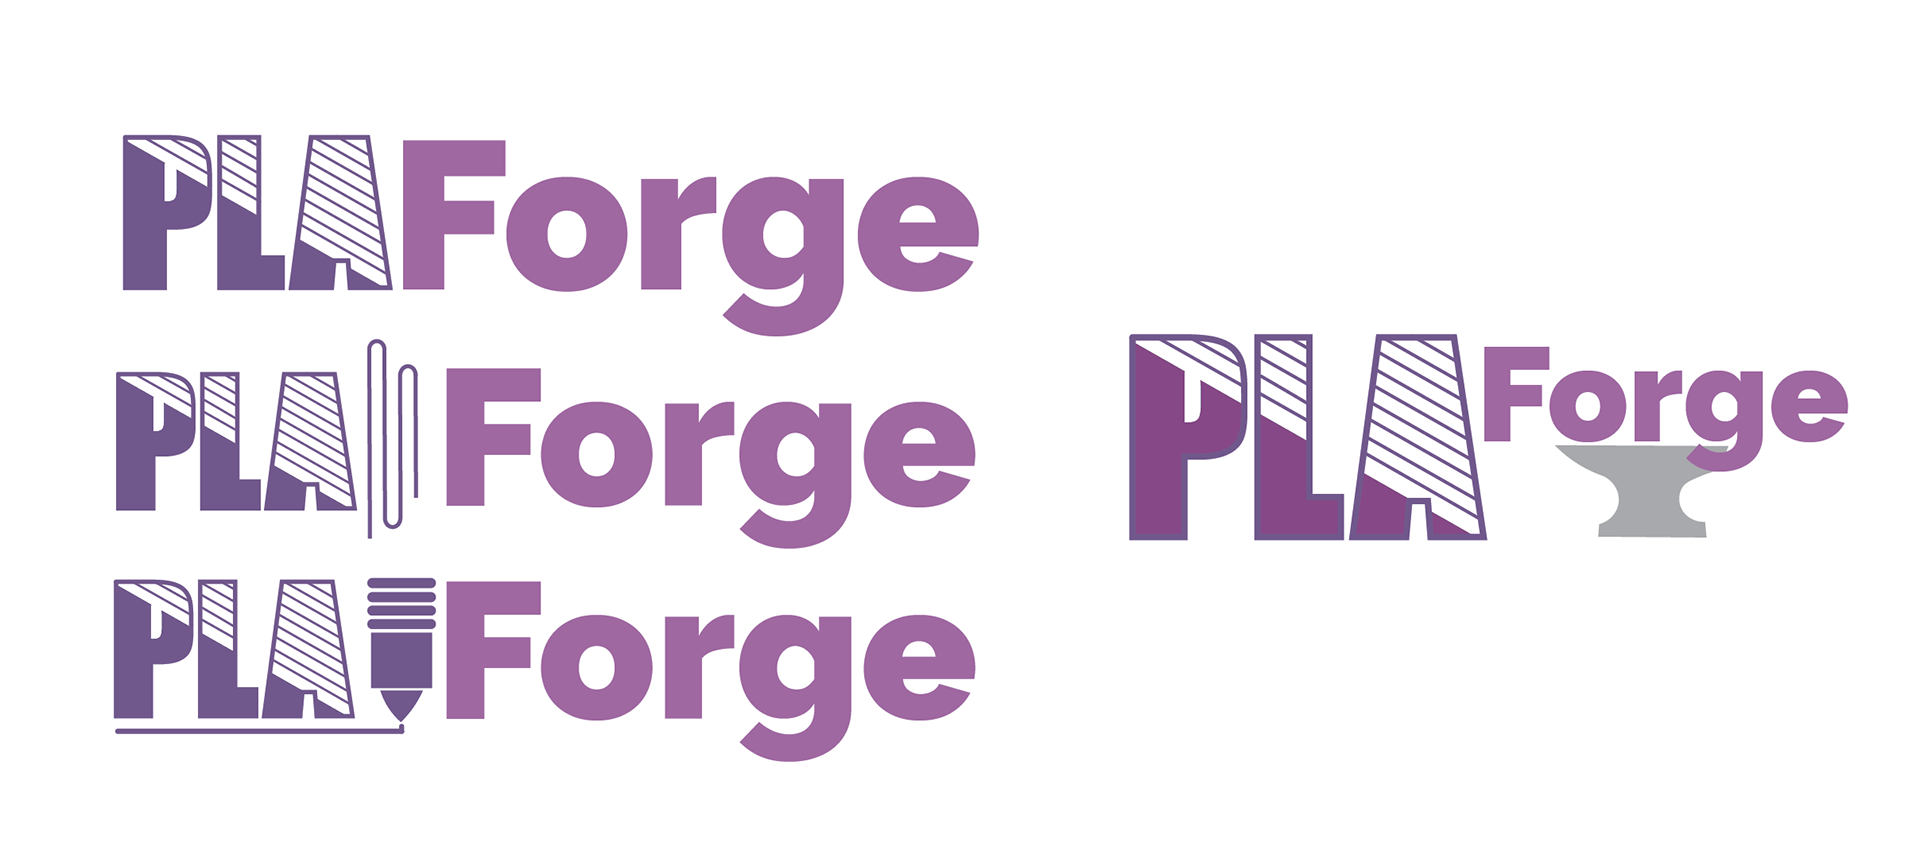
Experimentation.
More experimentation.
More experimentation.
Refinement.
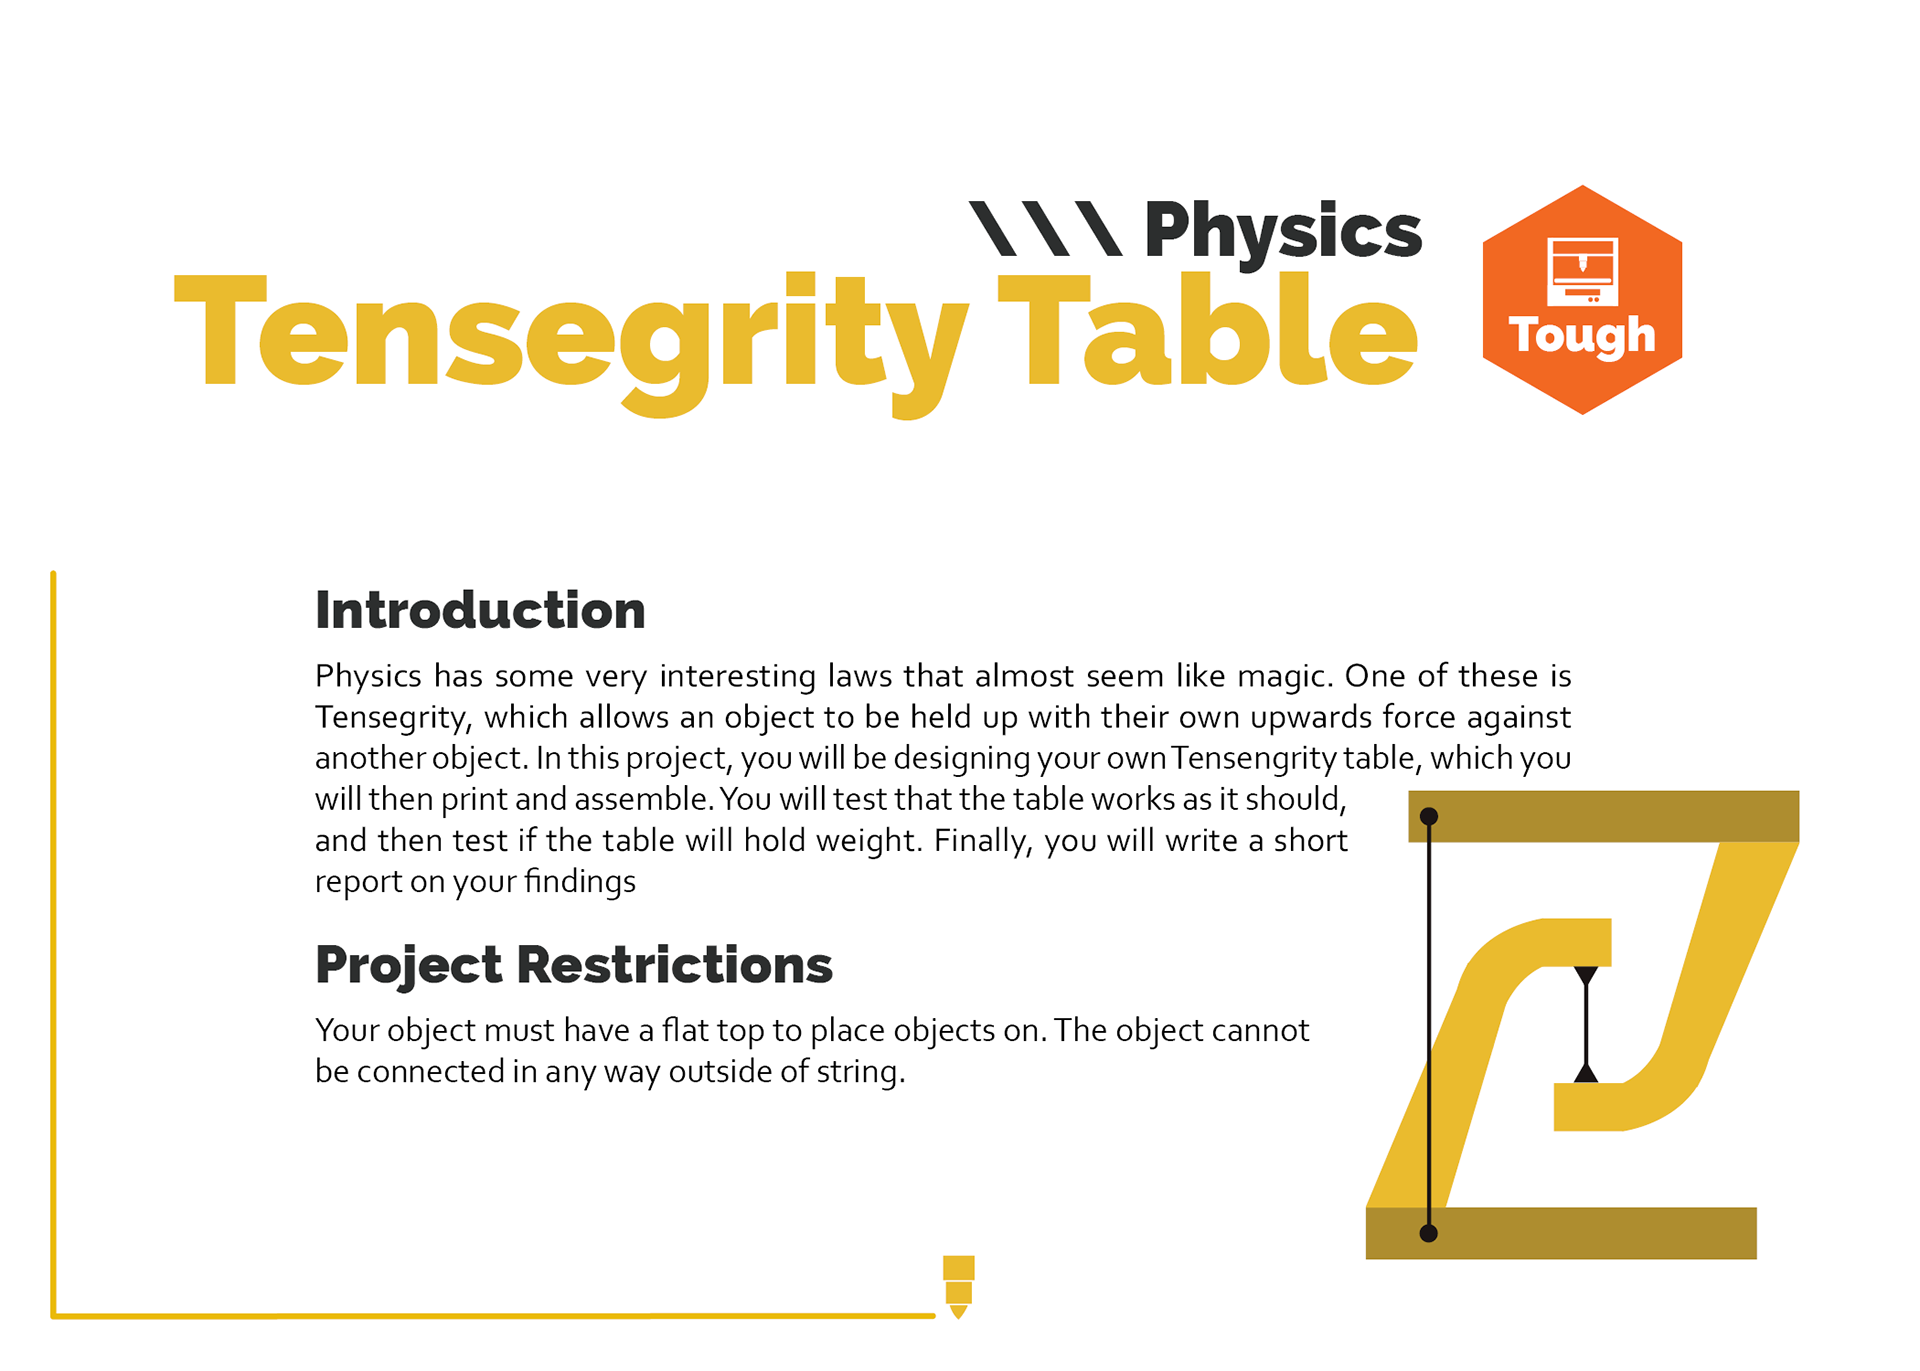
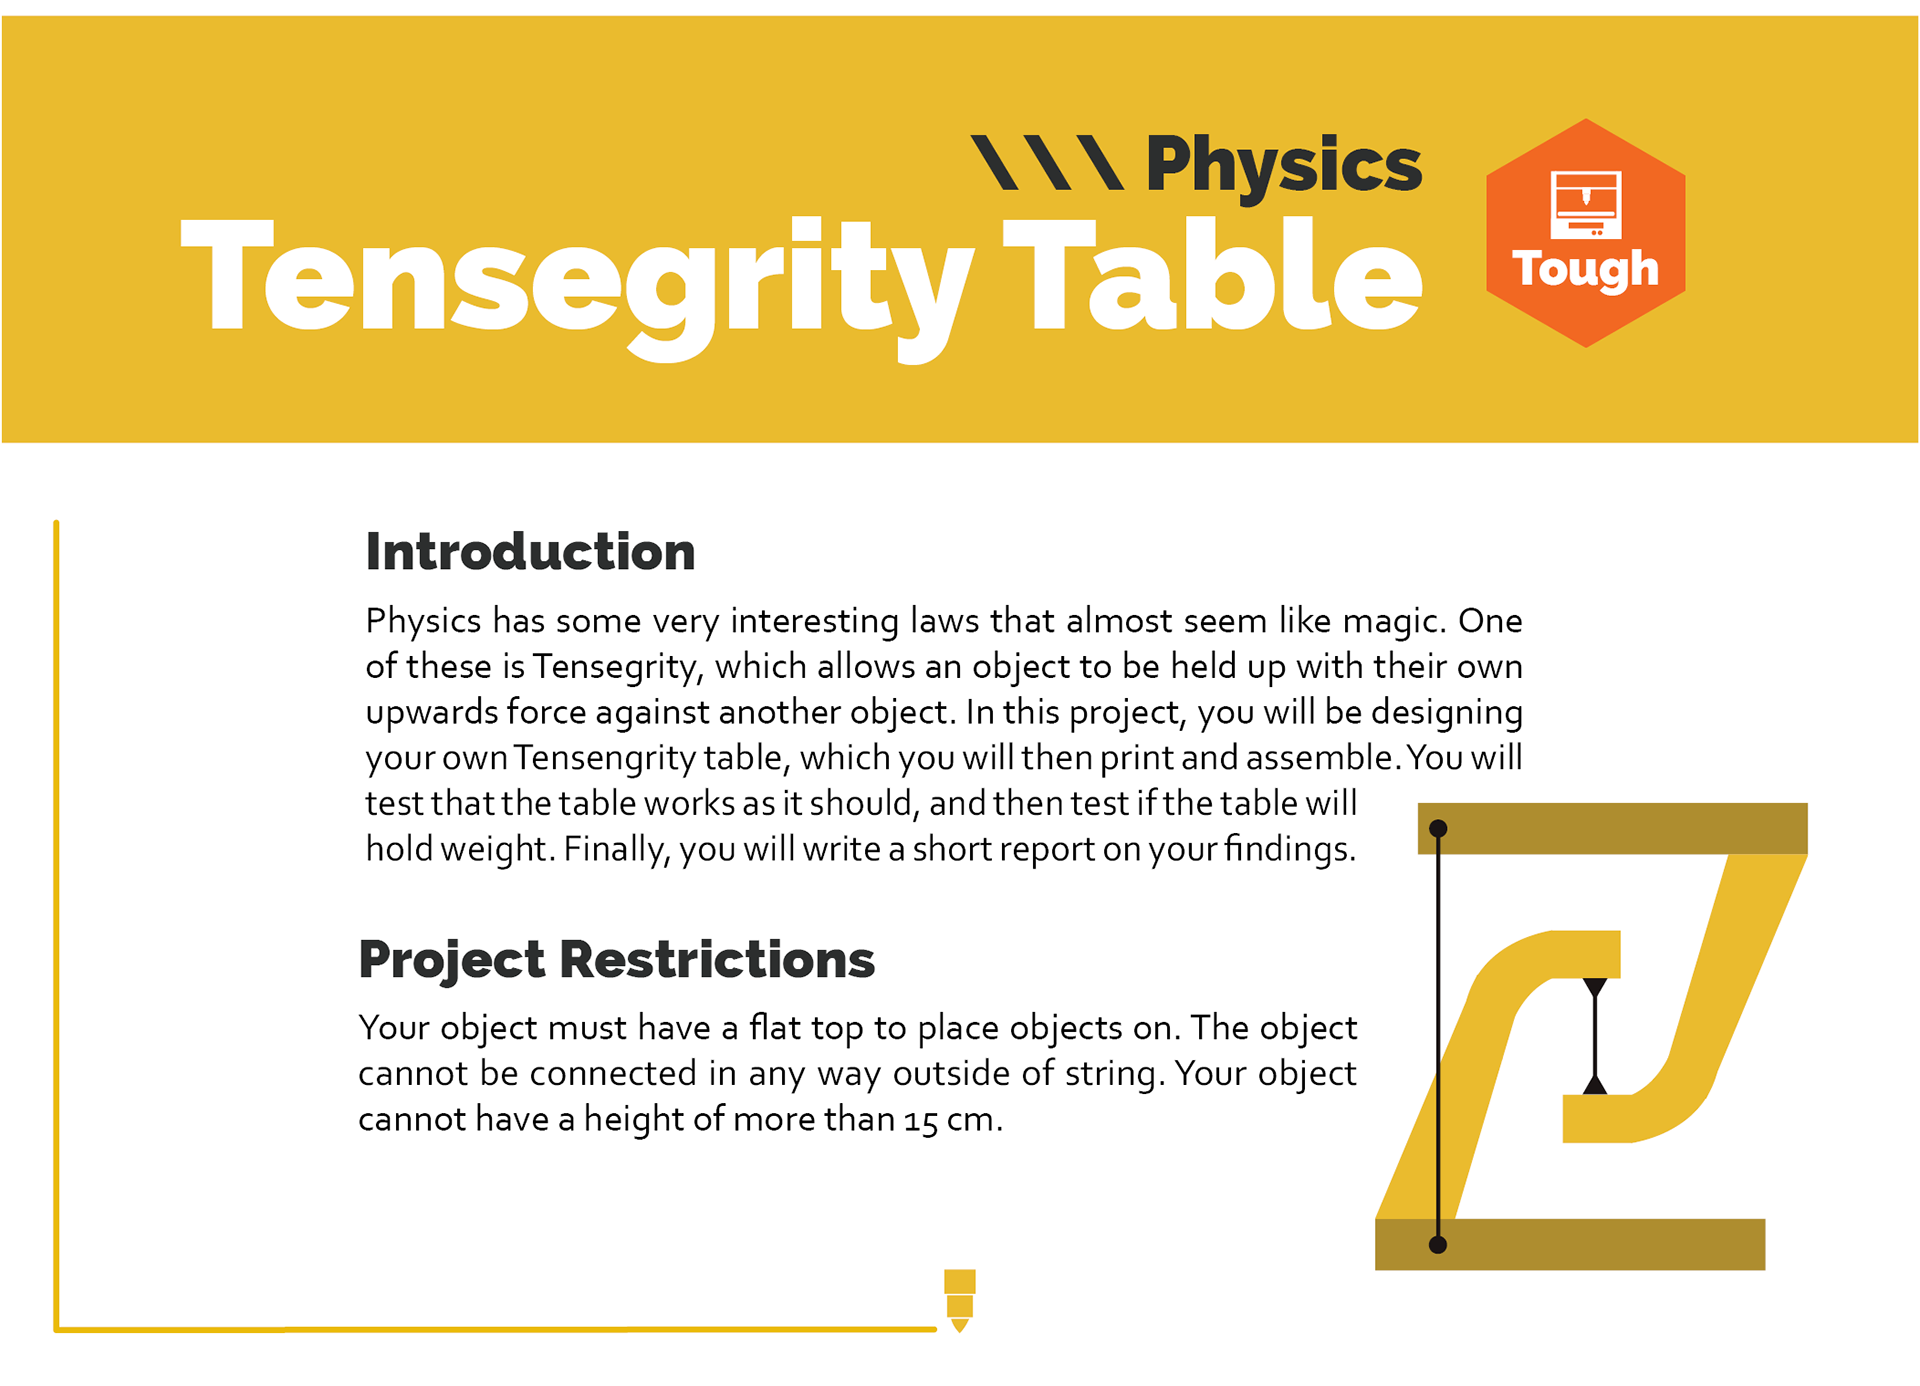
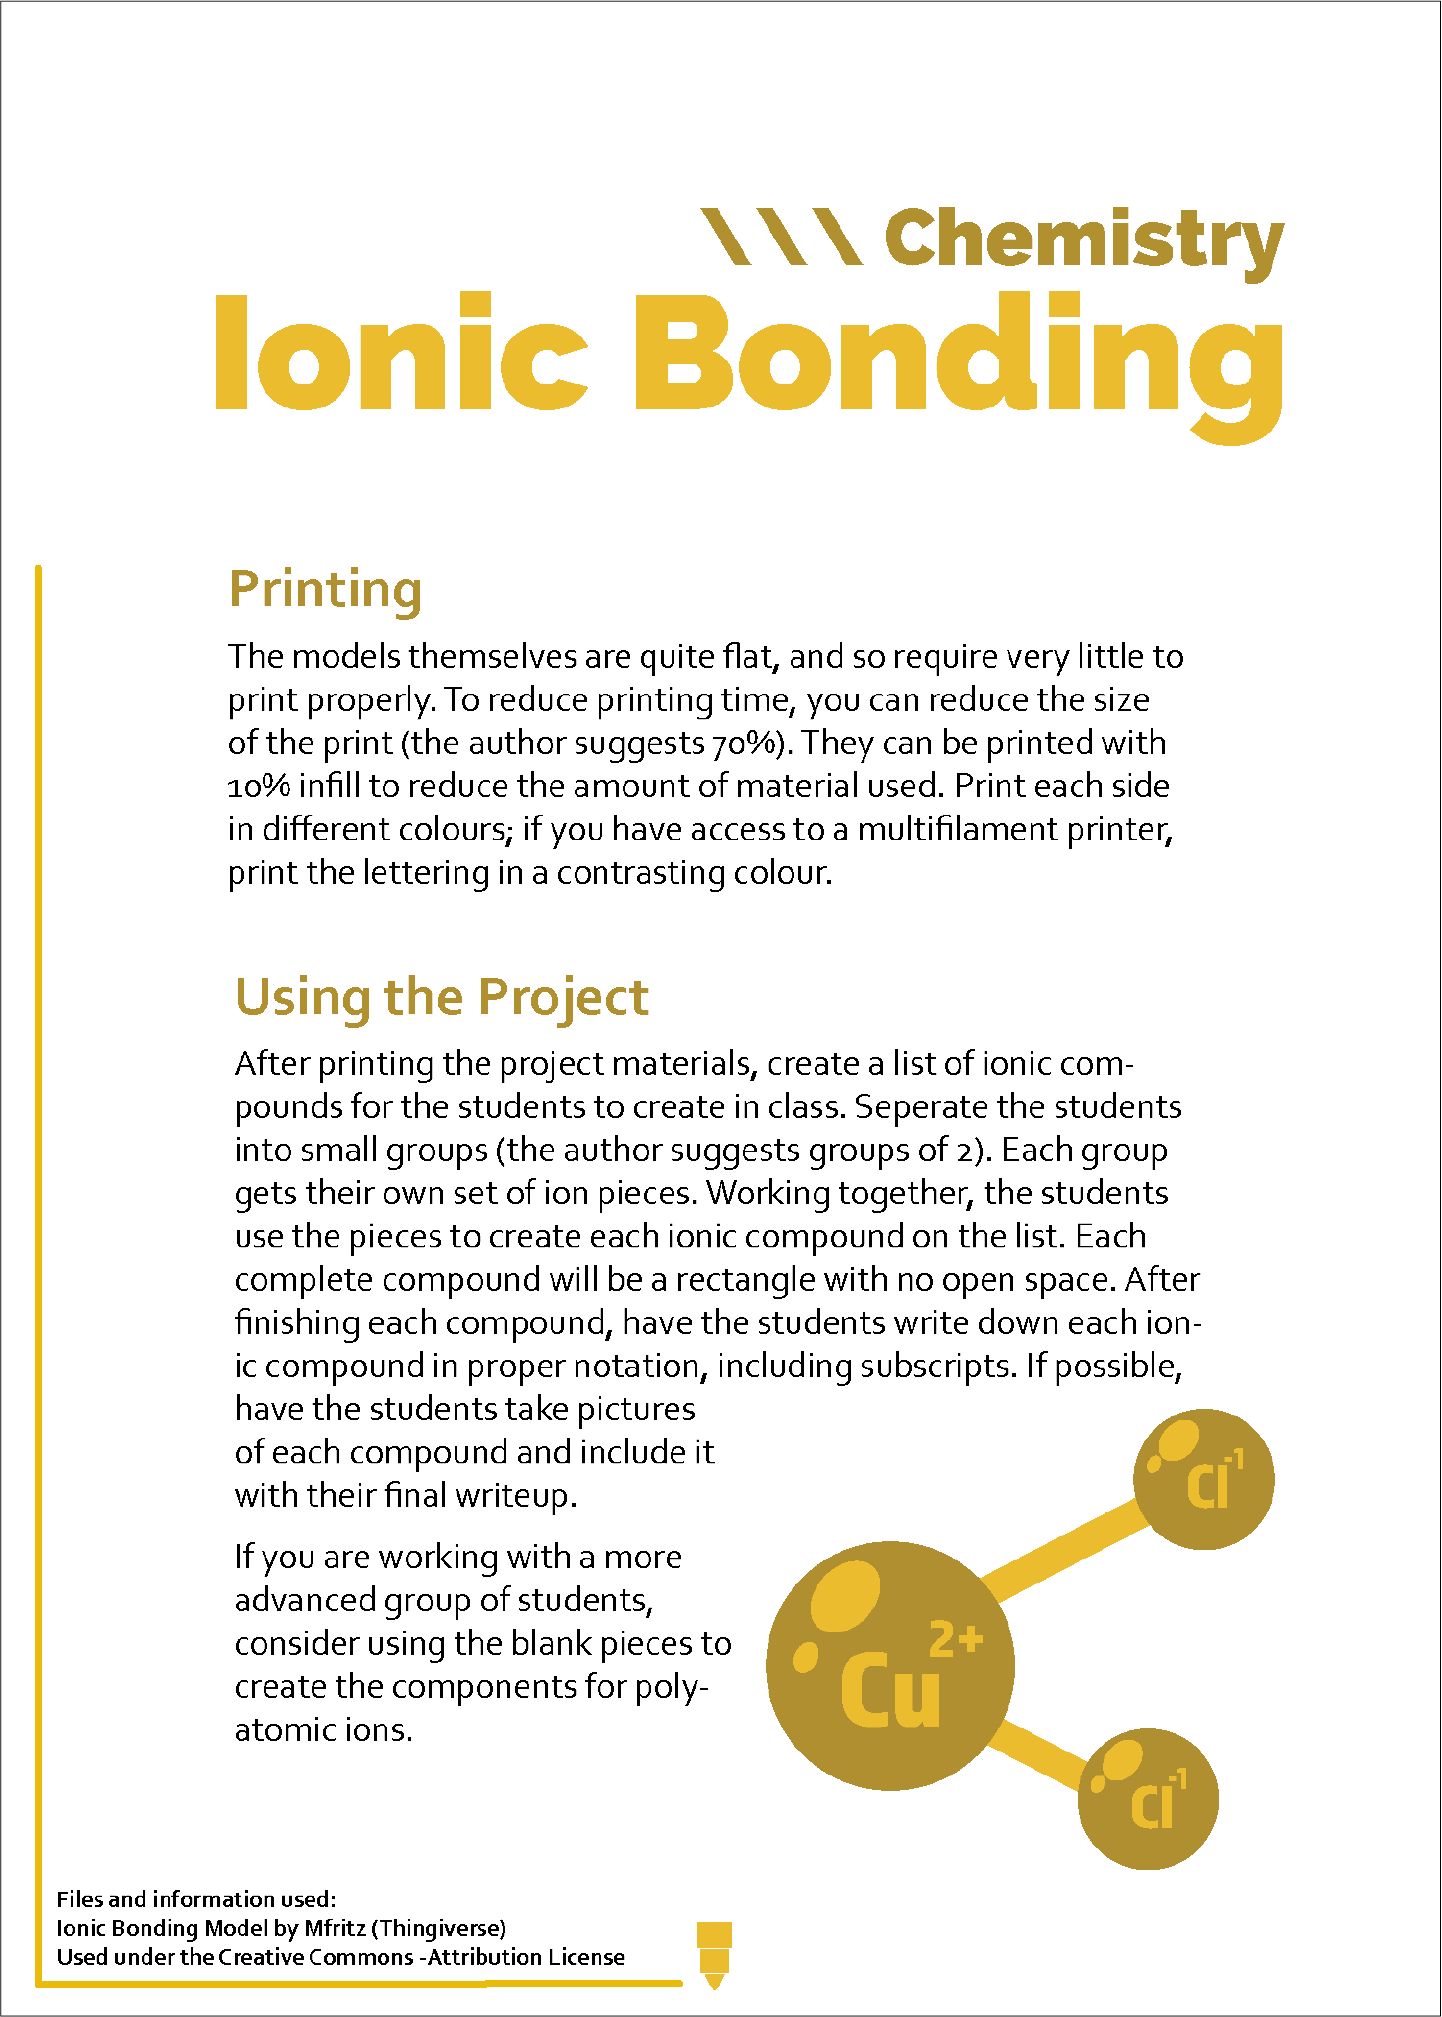
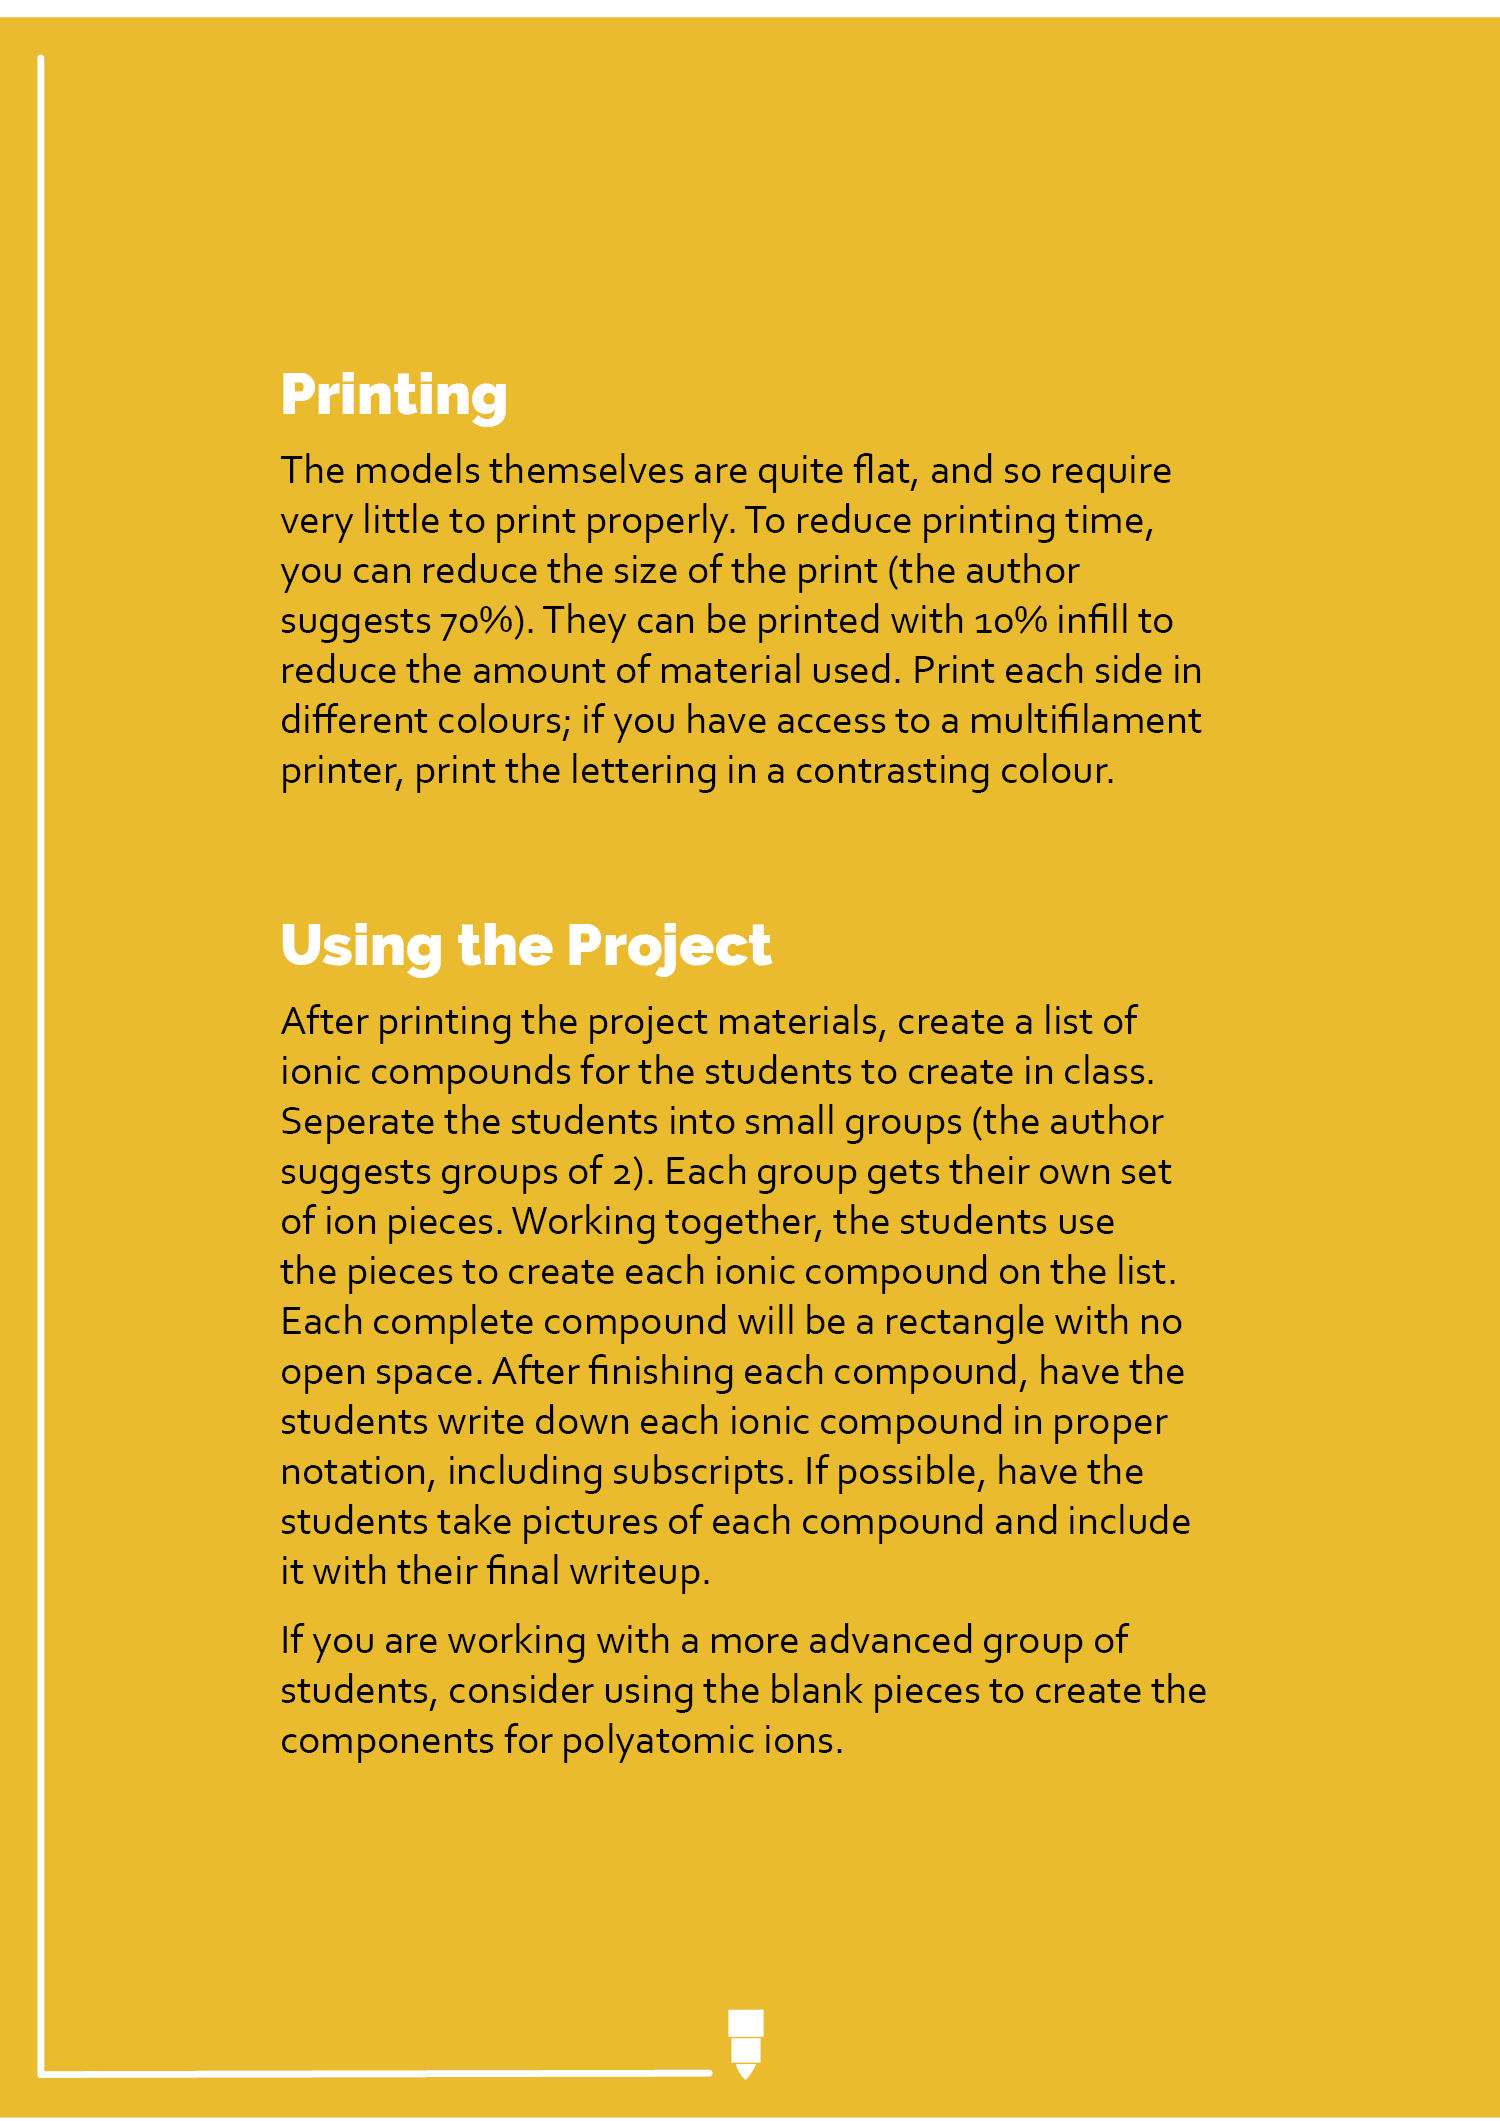
The first part of our year long project was creating physical prints that go towards solving our problem. I focused on solving the lack of understanding of 3D printers in education. To that end, I started creating a kit that gave teachers example materials for instructing with 3D printers. The first step is student project cards. These cards can be handed out to students and provide instructions for a lab or project that require students to have hands on work with 3D printers and 3D modeling. The projects are aimed at middle school and high school students with varying levels of 3D modeling knowledge.
These were created in Indesign, with illustrations and difficulty logos created in Illustrator.
First draft of Student cards
Final Draft
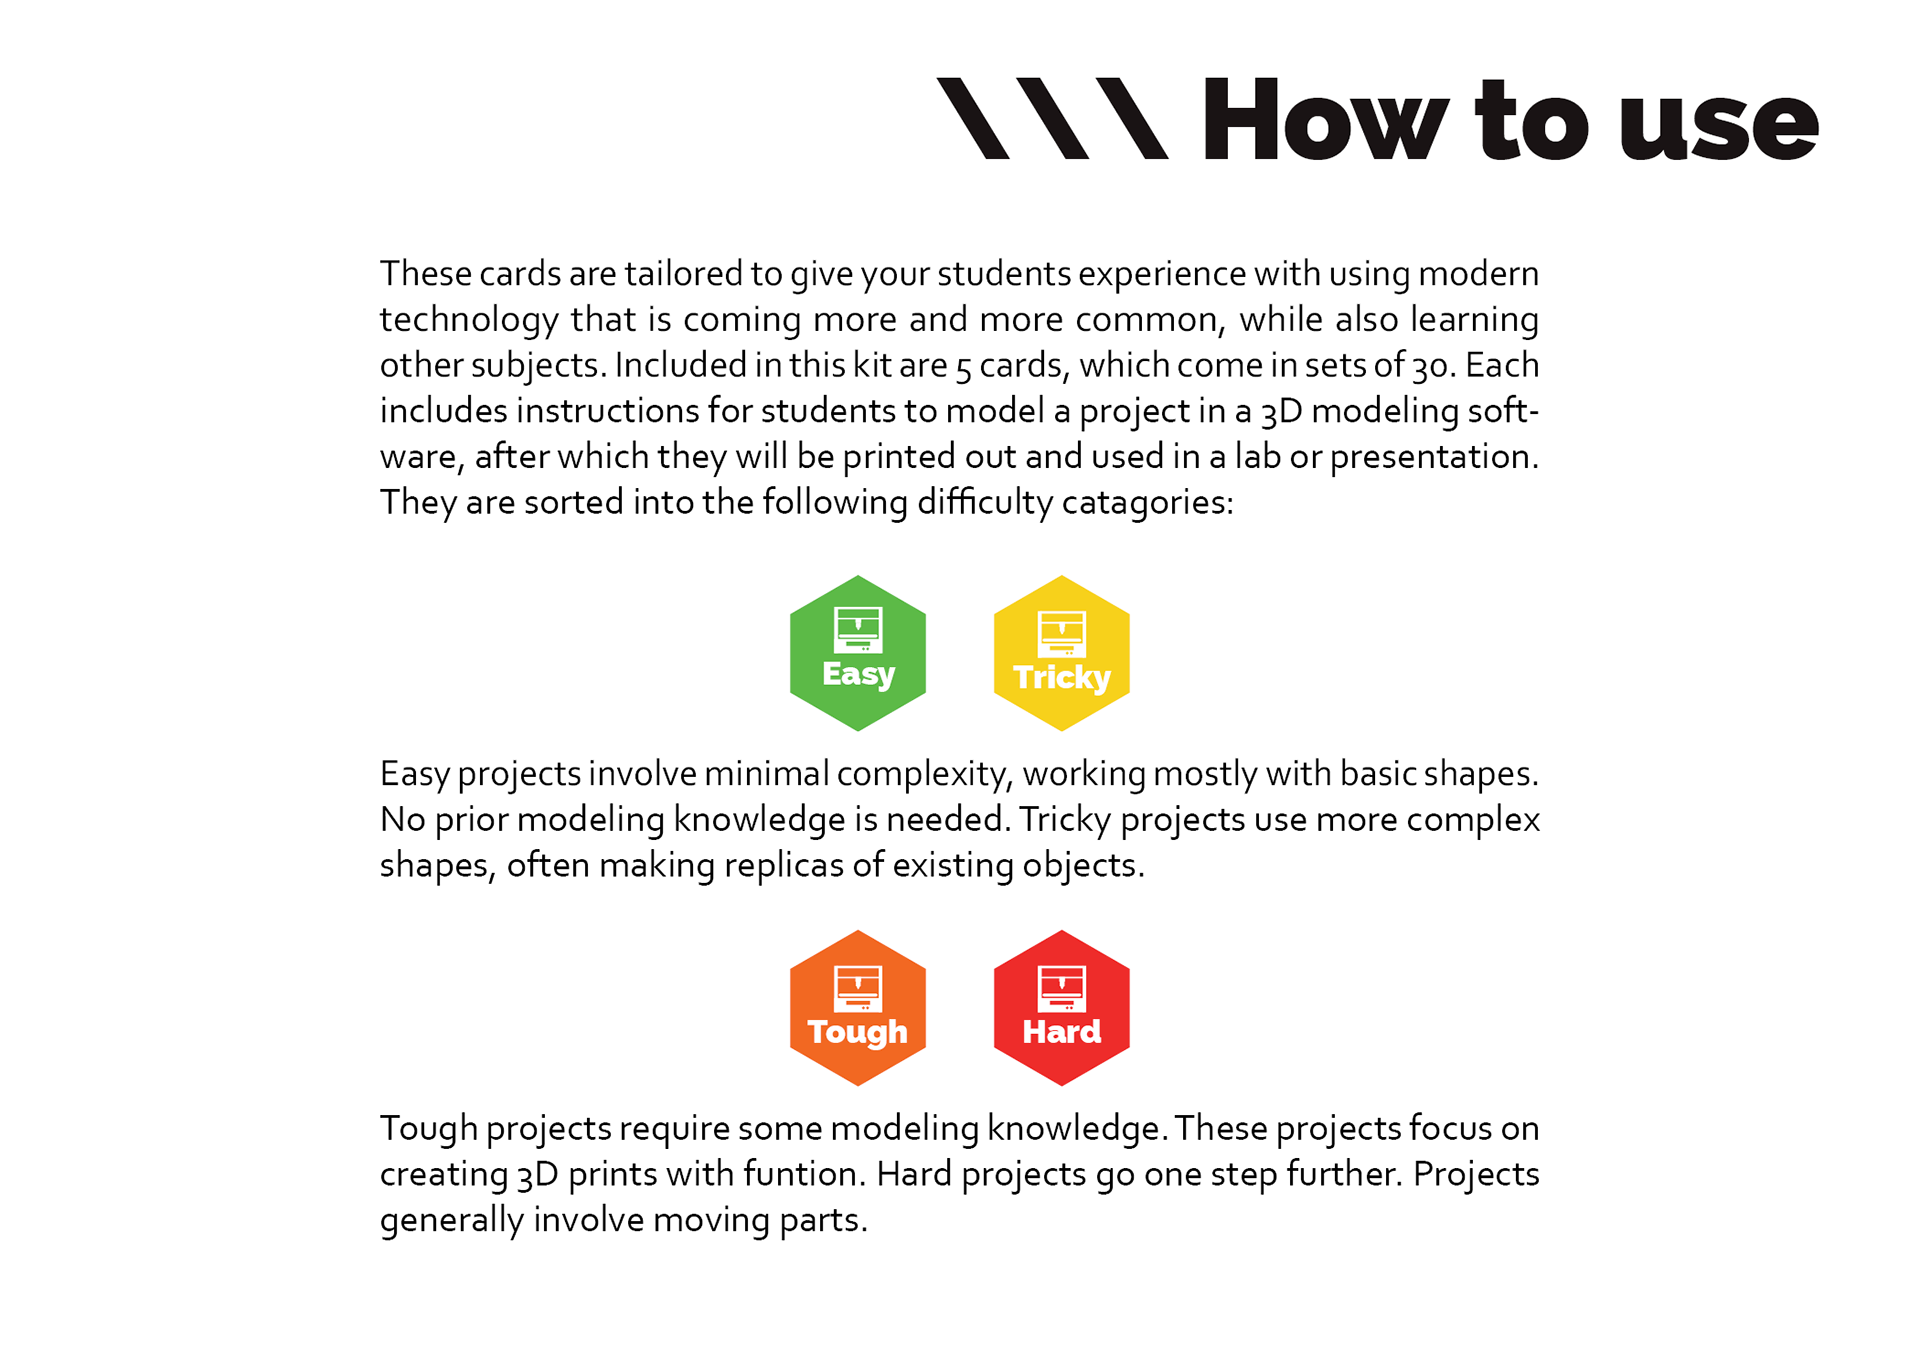
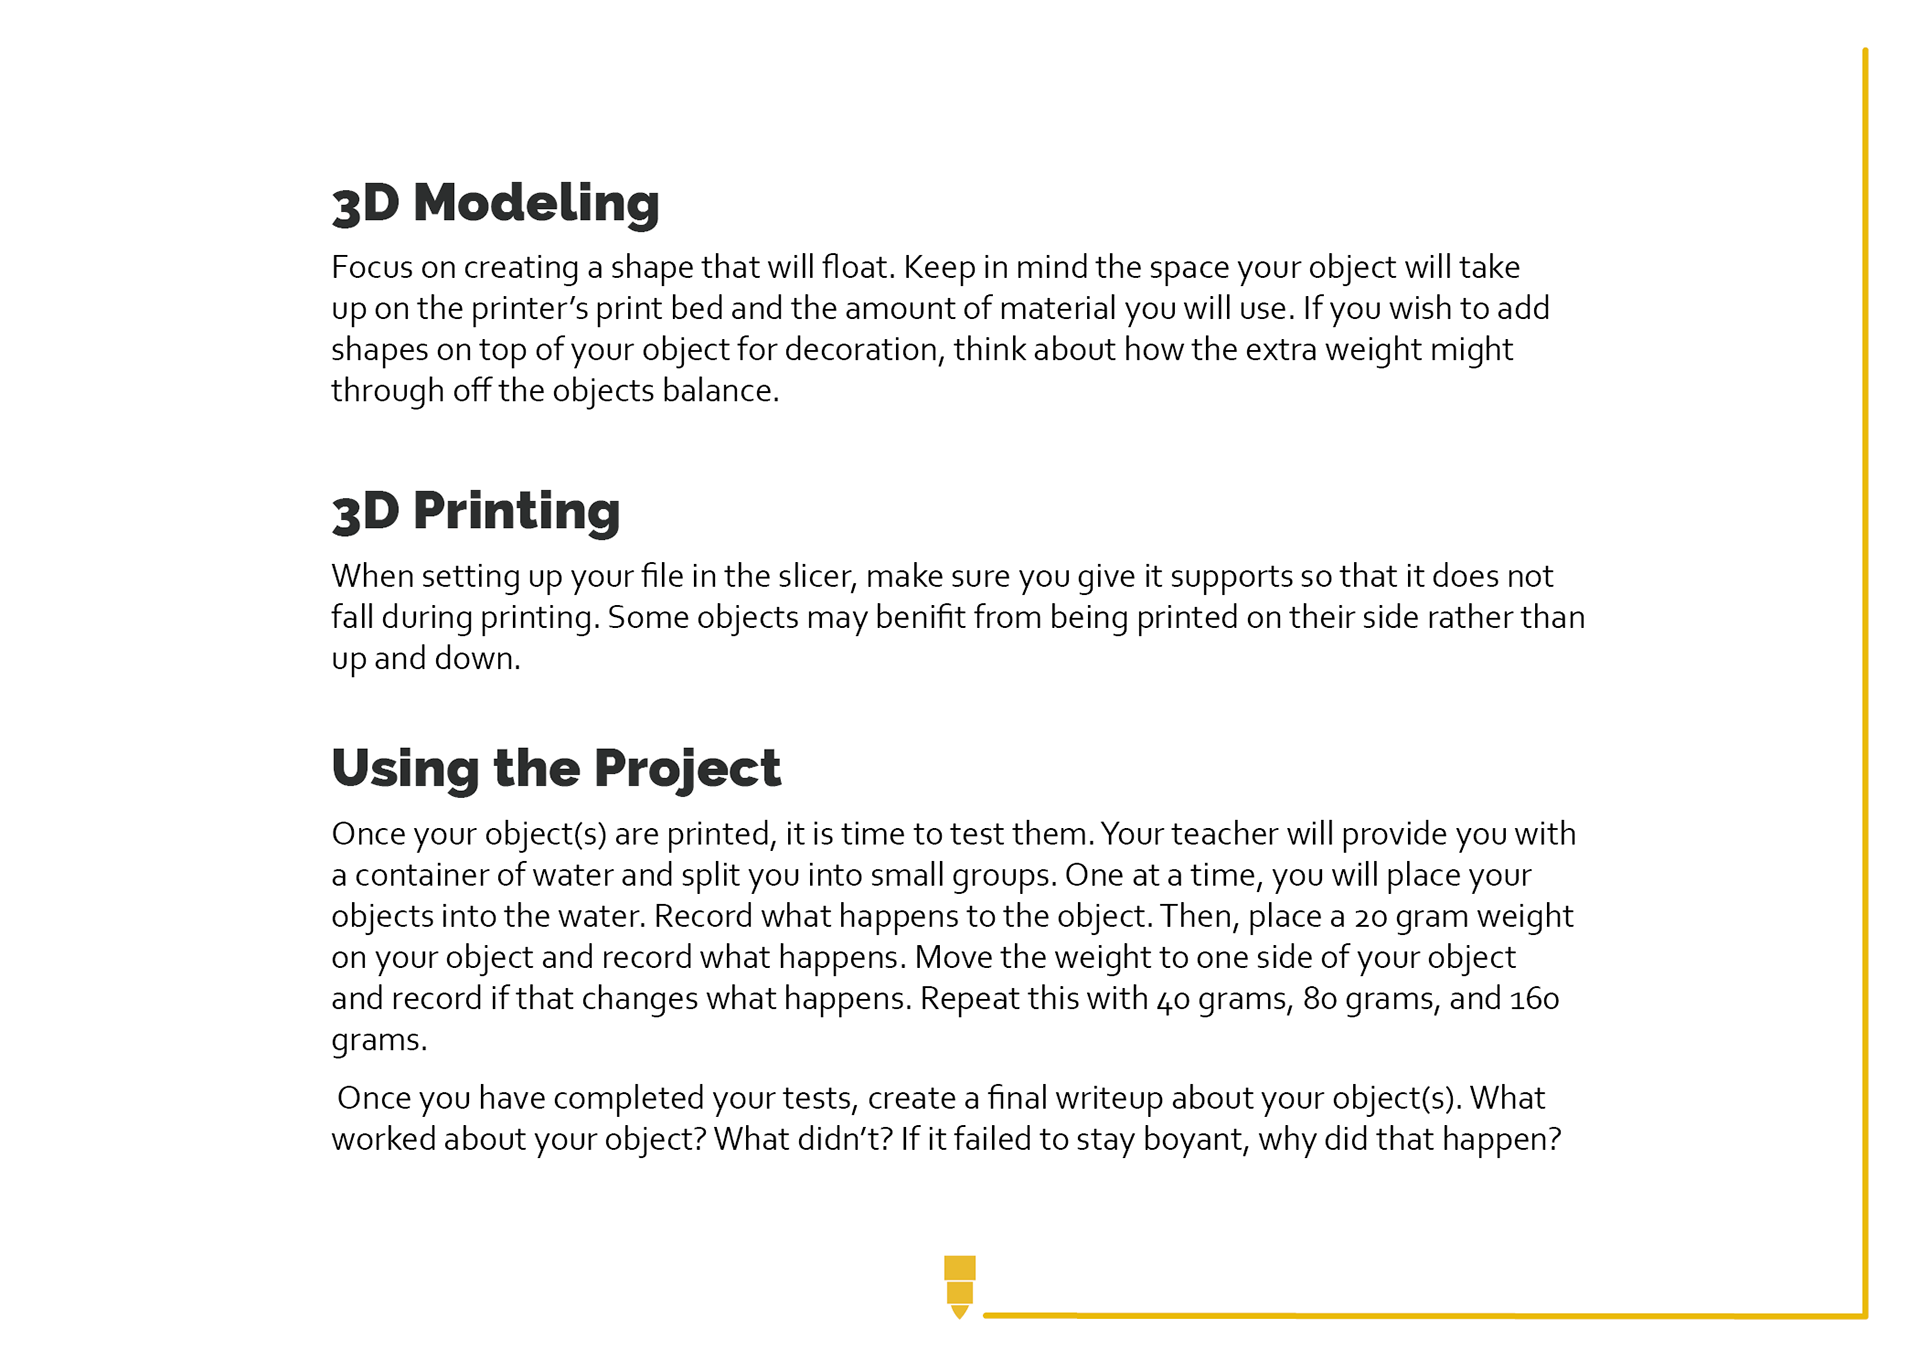
The cards come in two sets- a set of the individual cards with difficulty symbols, and packages of them without. The difficulty symbols are a teacher aid to help them decide if a given project is a good fit for their students. Another card included in the package describes the meaning behind each difficulty. Each card is double sided. The front introduces the project, while the back gives tips on designing and printing each model. Finally it details how to use the prints for the lab.
Student project cards primer, front
Student project cards primer, back

Easy Card
Easy Card back
In the kit there is a second set of cards, the teacher cards. These lack difficulty levels, and instead are linked to 3D files on an included USB. These cards provide a teacher with an example lab that can be preformed with the 3D files, as well on tips on how to print them properly. These labs do not require students to 3D model.
First draft of the Teacher Cards

Final draft, front
Final draft, back
Also included in the kit is a set of brochures. These are to be provided to interested students in the classroom. The pamphlets provide facts about how 3D printers work, as well as advertising the Makerspace's services, including student memberships.
The brochure was laid out in Indesign, with illustrations made in Illustrator. I then made a mockup in photoshop.
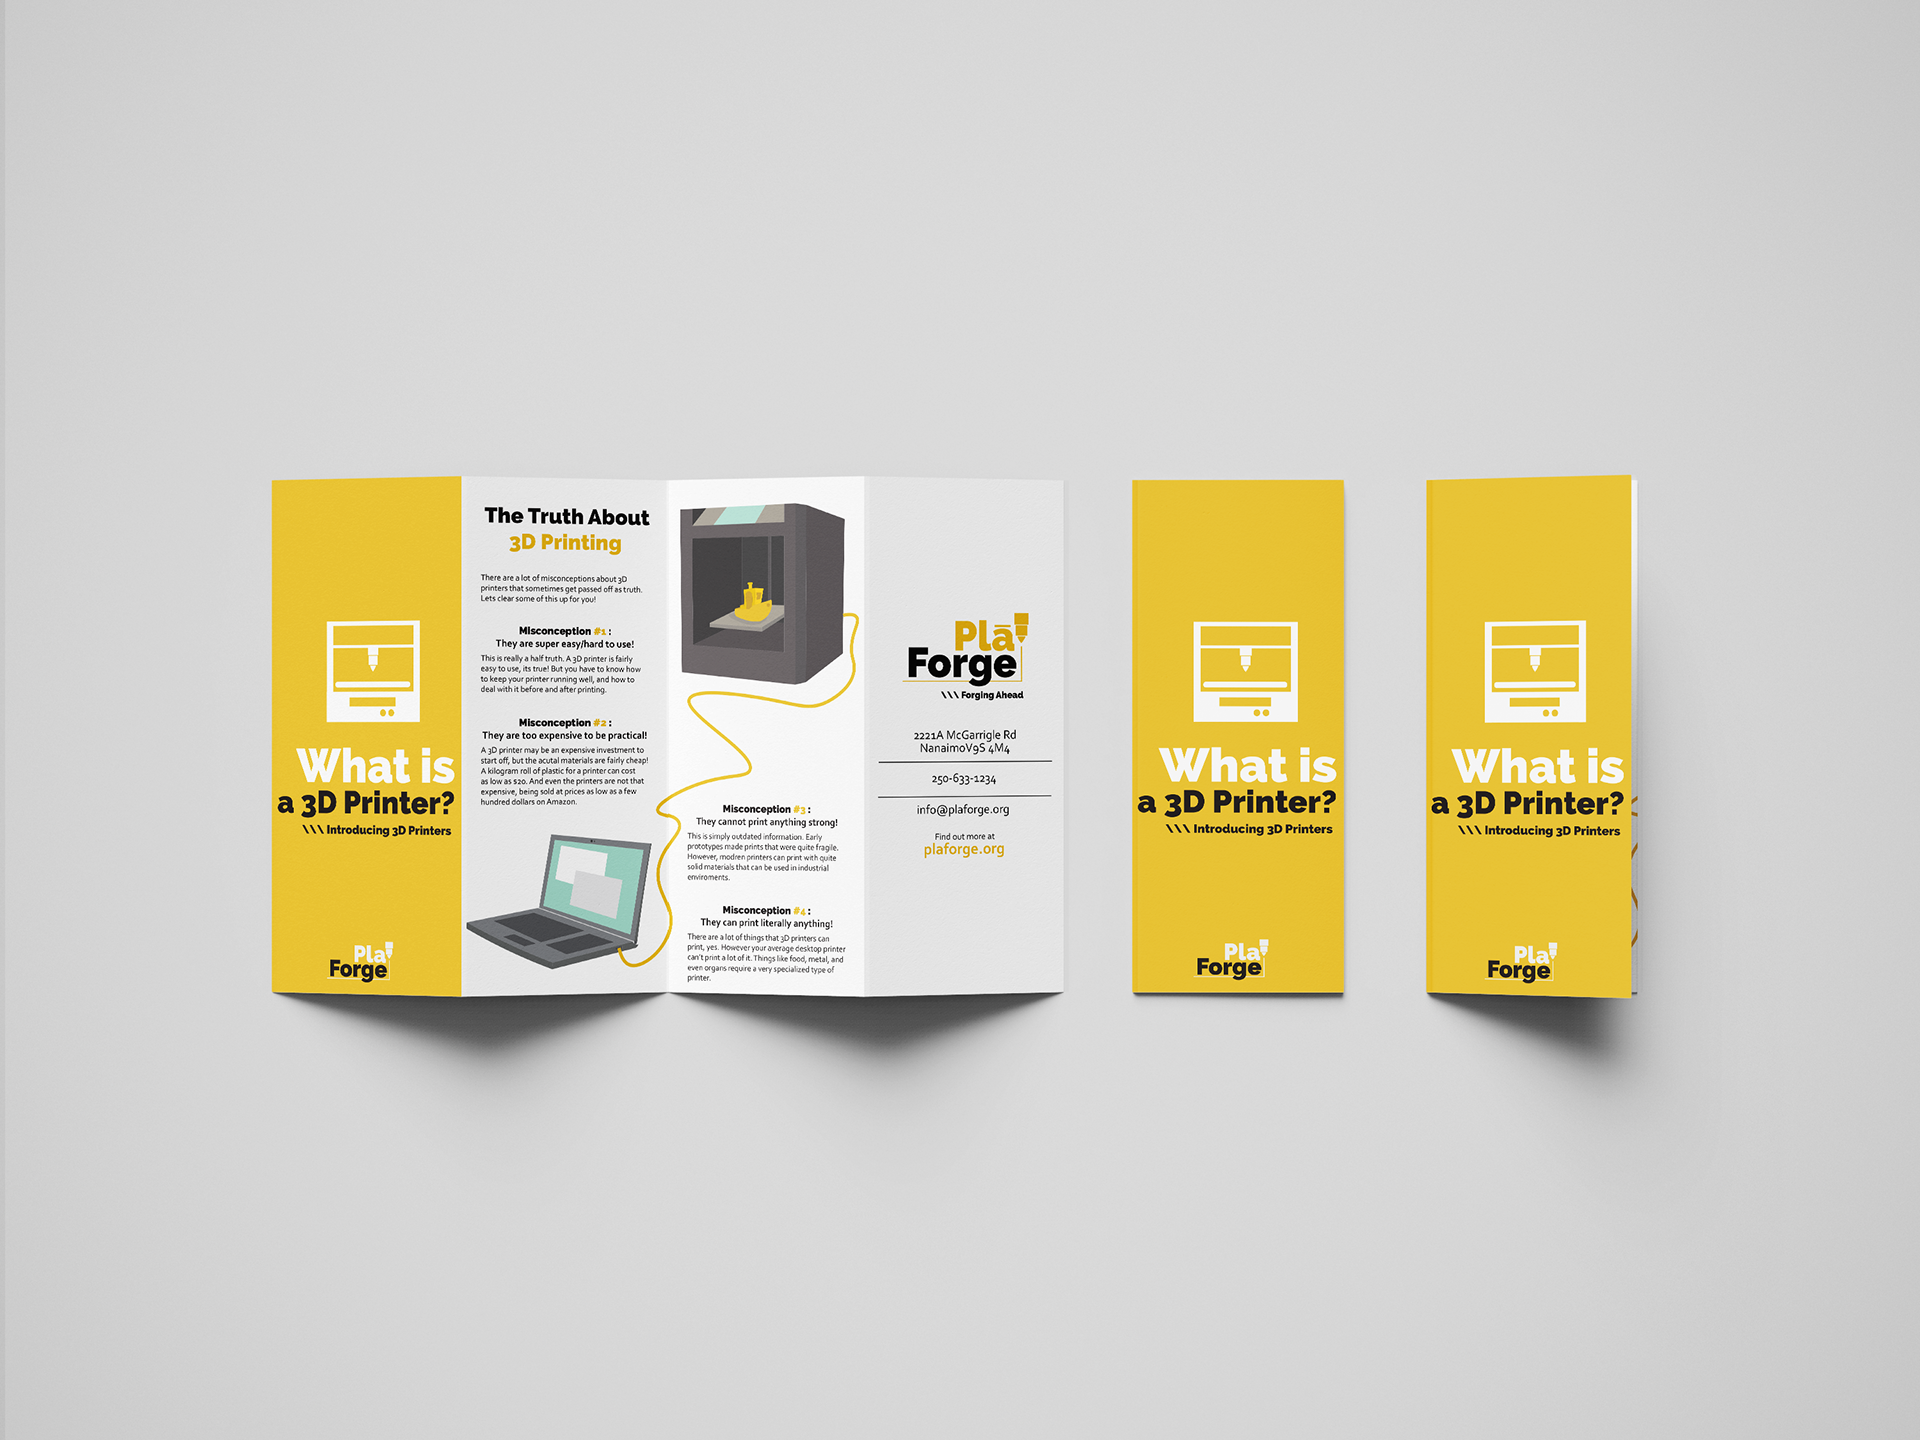
Pamphlet, front
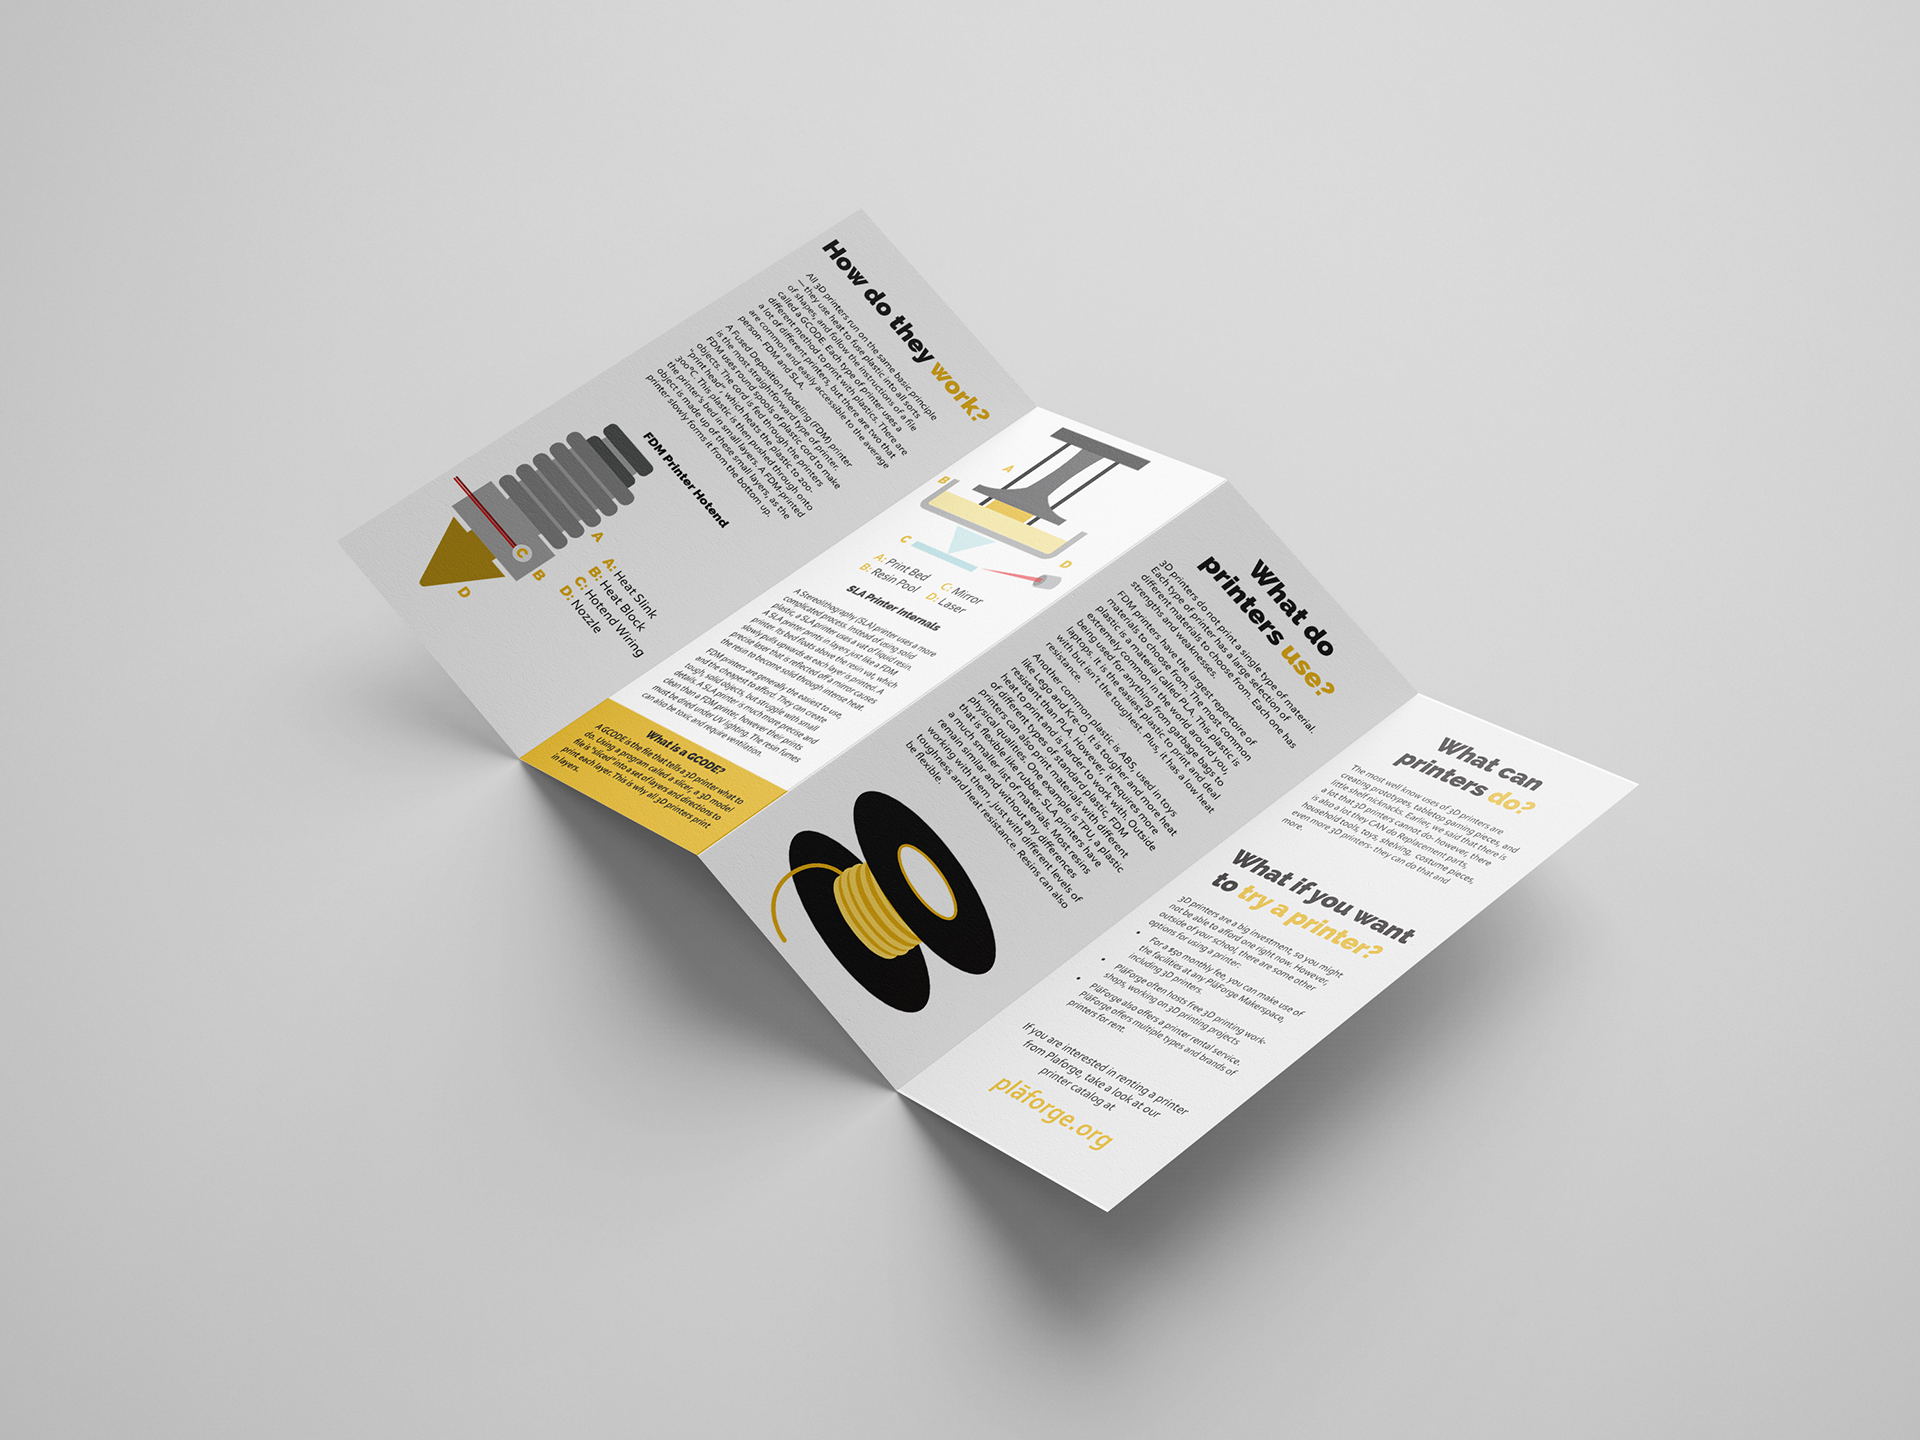
Pamphlet, back
Finally, the kit is enclosed in a large branded box. It includes a list of materials on the inner flap. Outside of the already designed materials, the kit also includes a roll of PLA plastic in Plaforge's brand colour, a USB with 3D files, and a card advertising additional teaching support for interested schools.
The box was designed in Illustrator, with a mockup done in Photoshop.
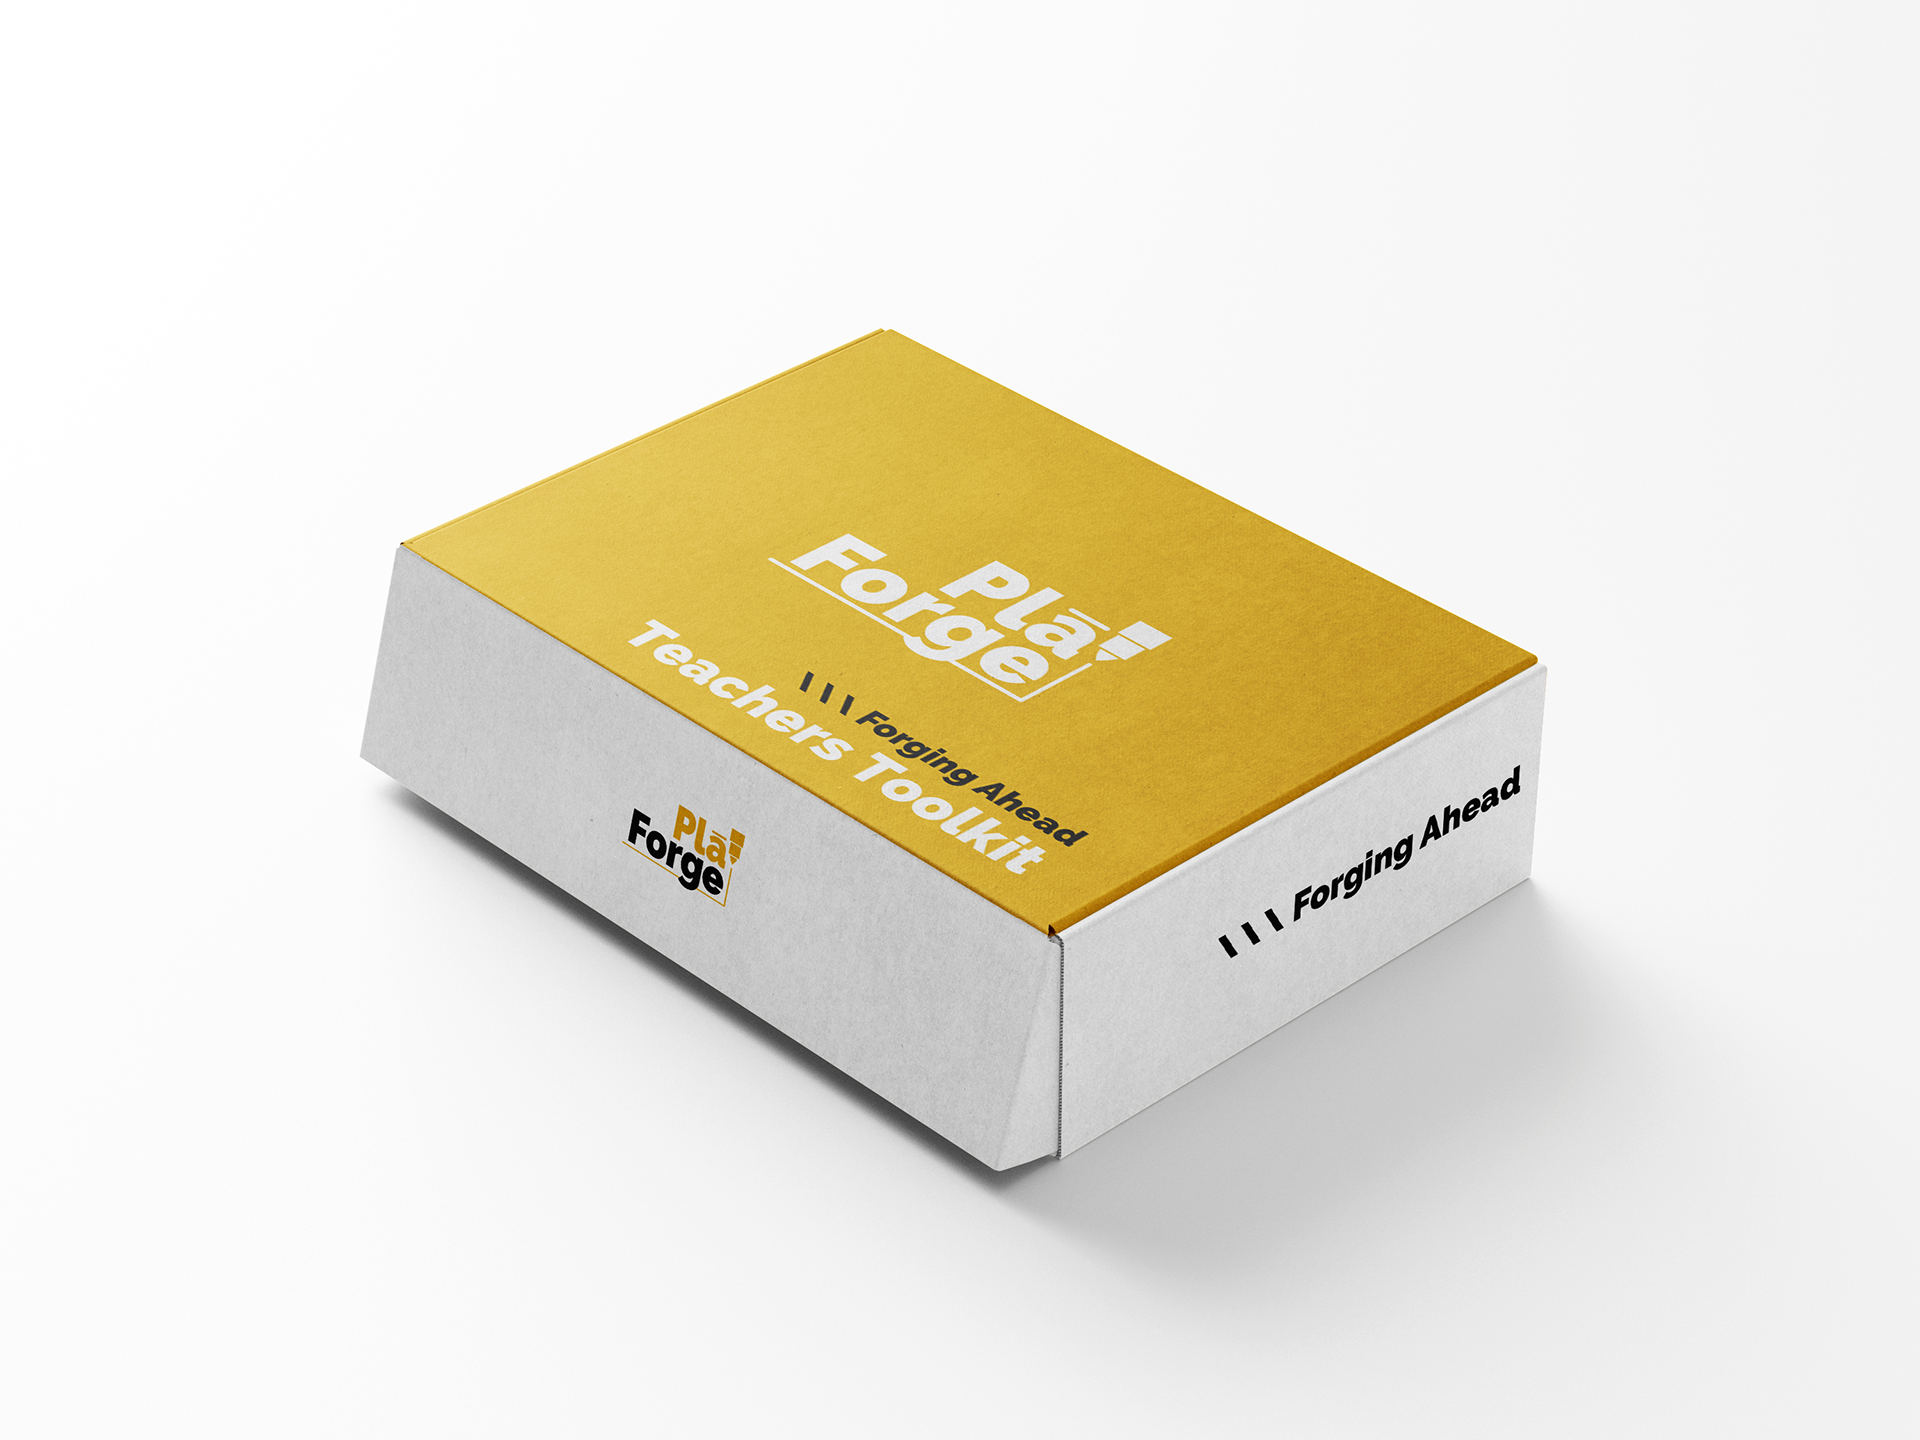
Kit box, outside
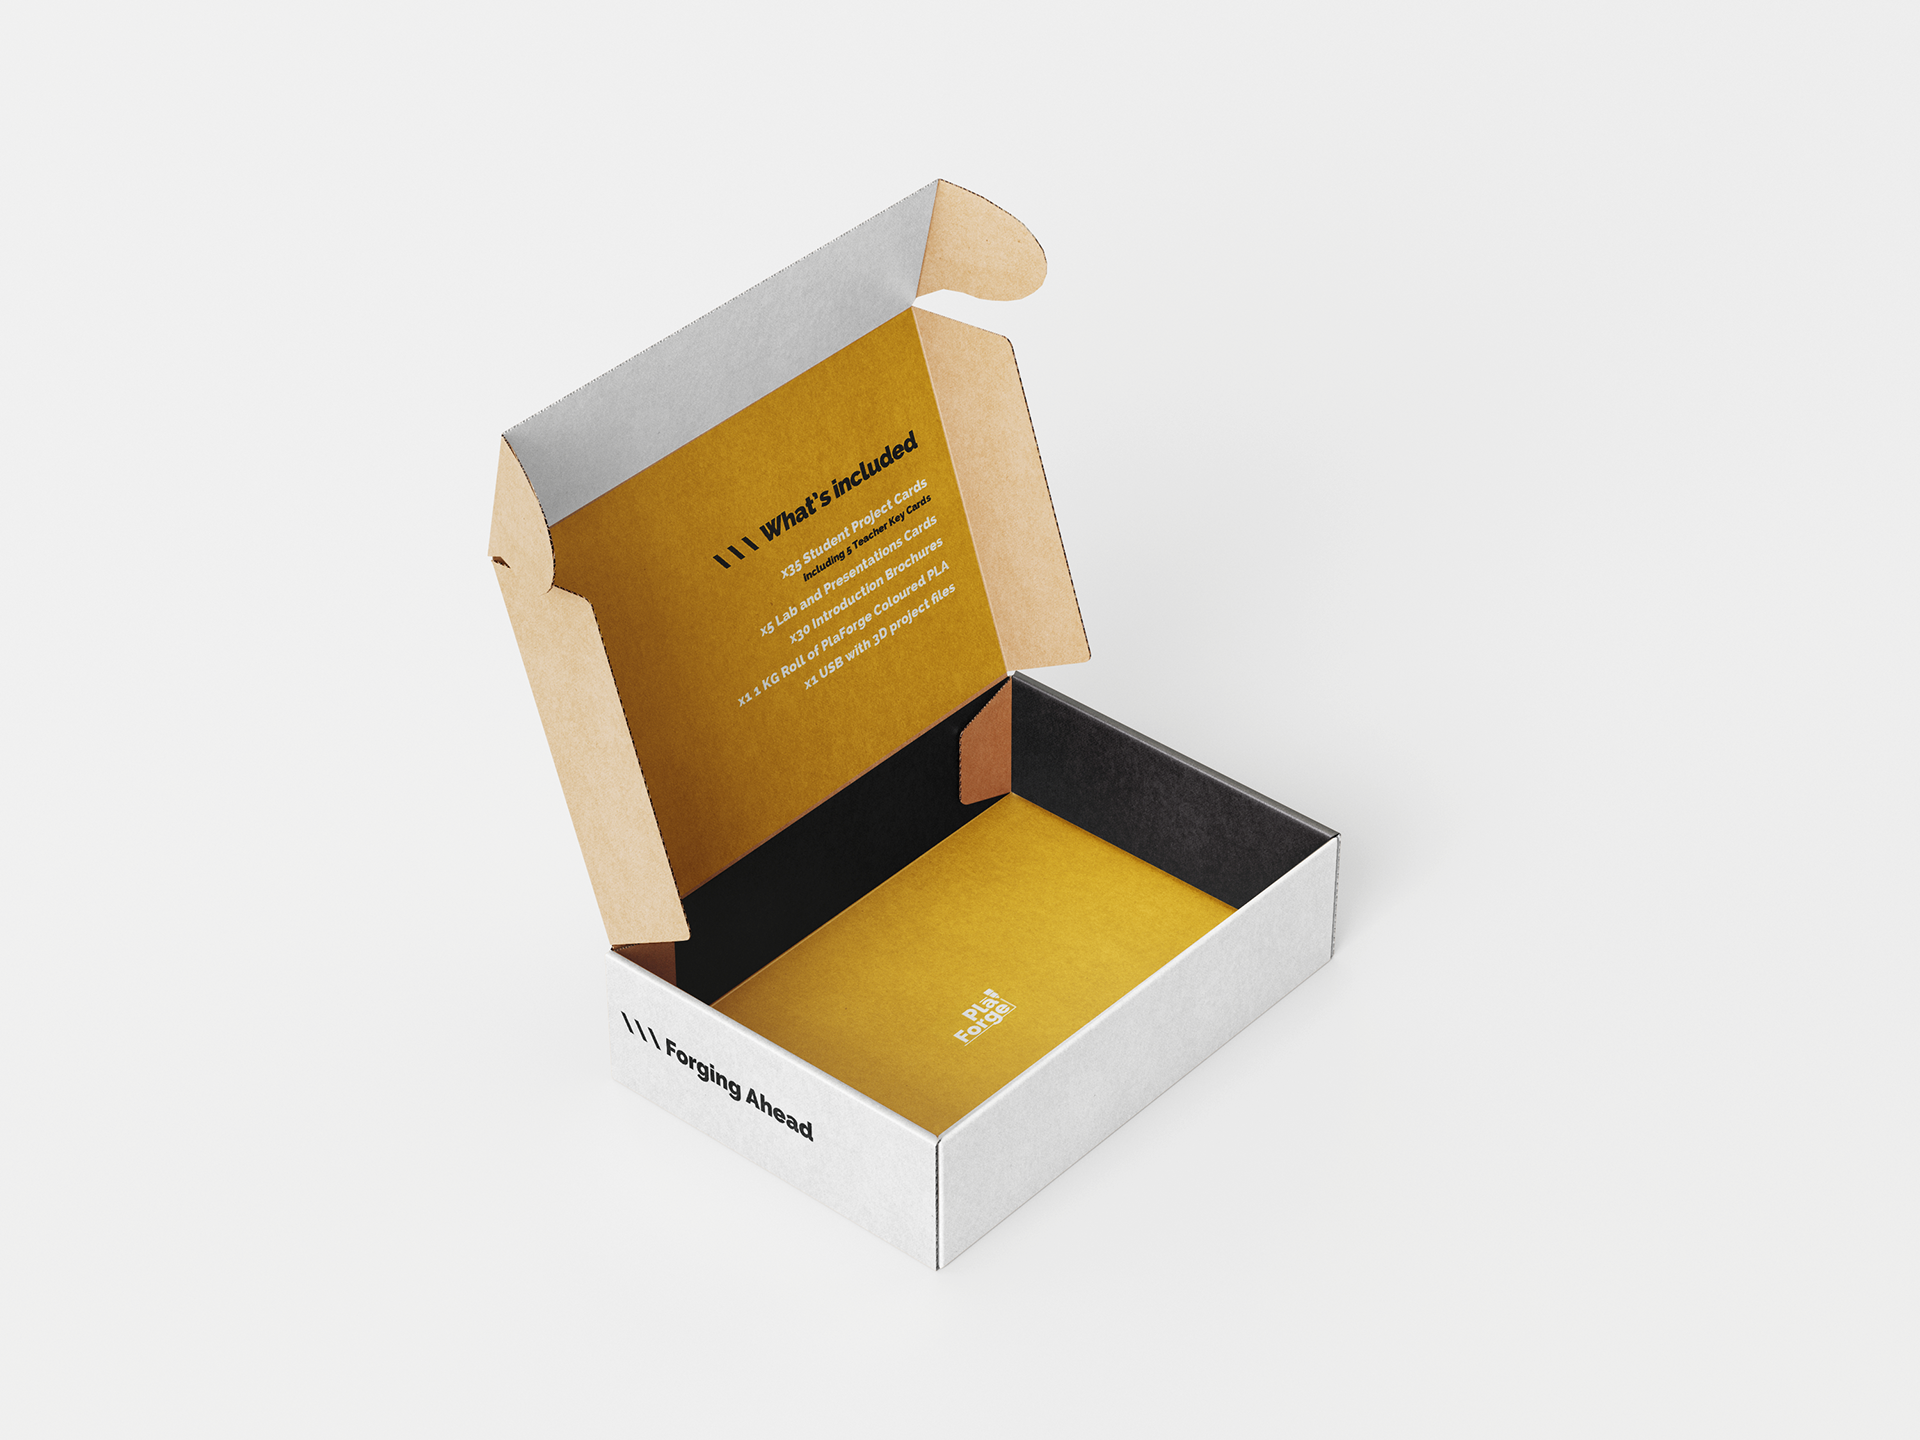
Kit box, inside
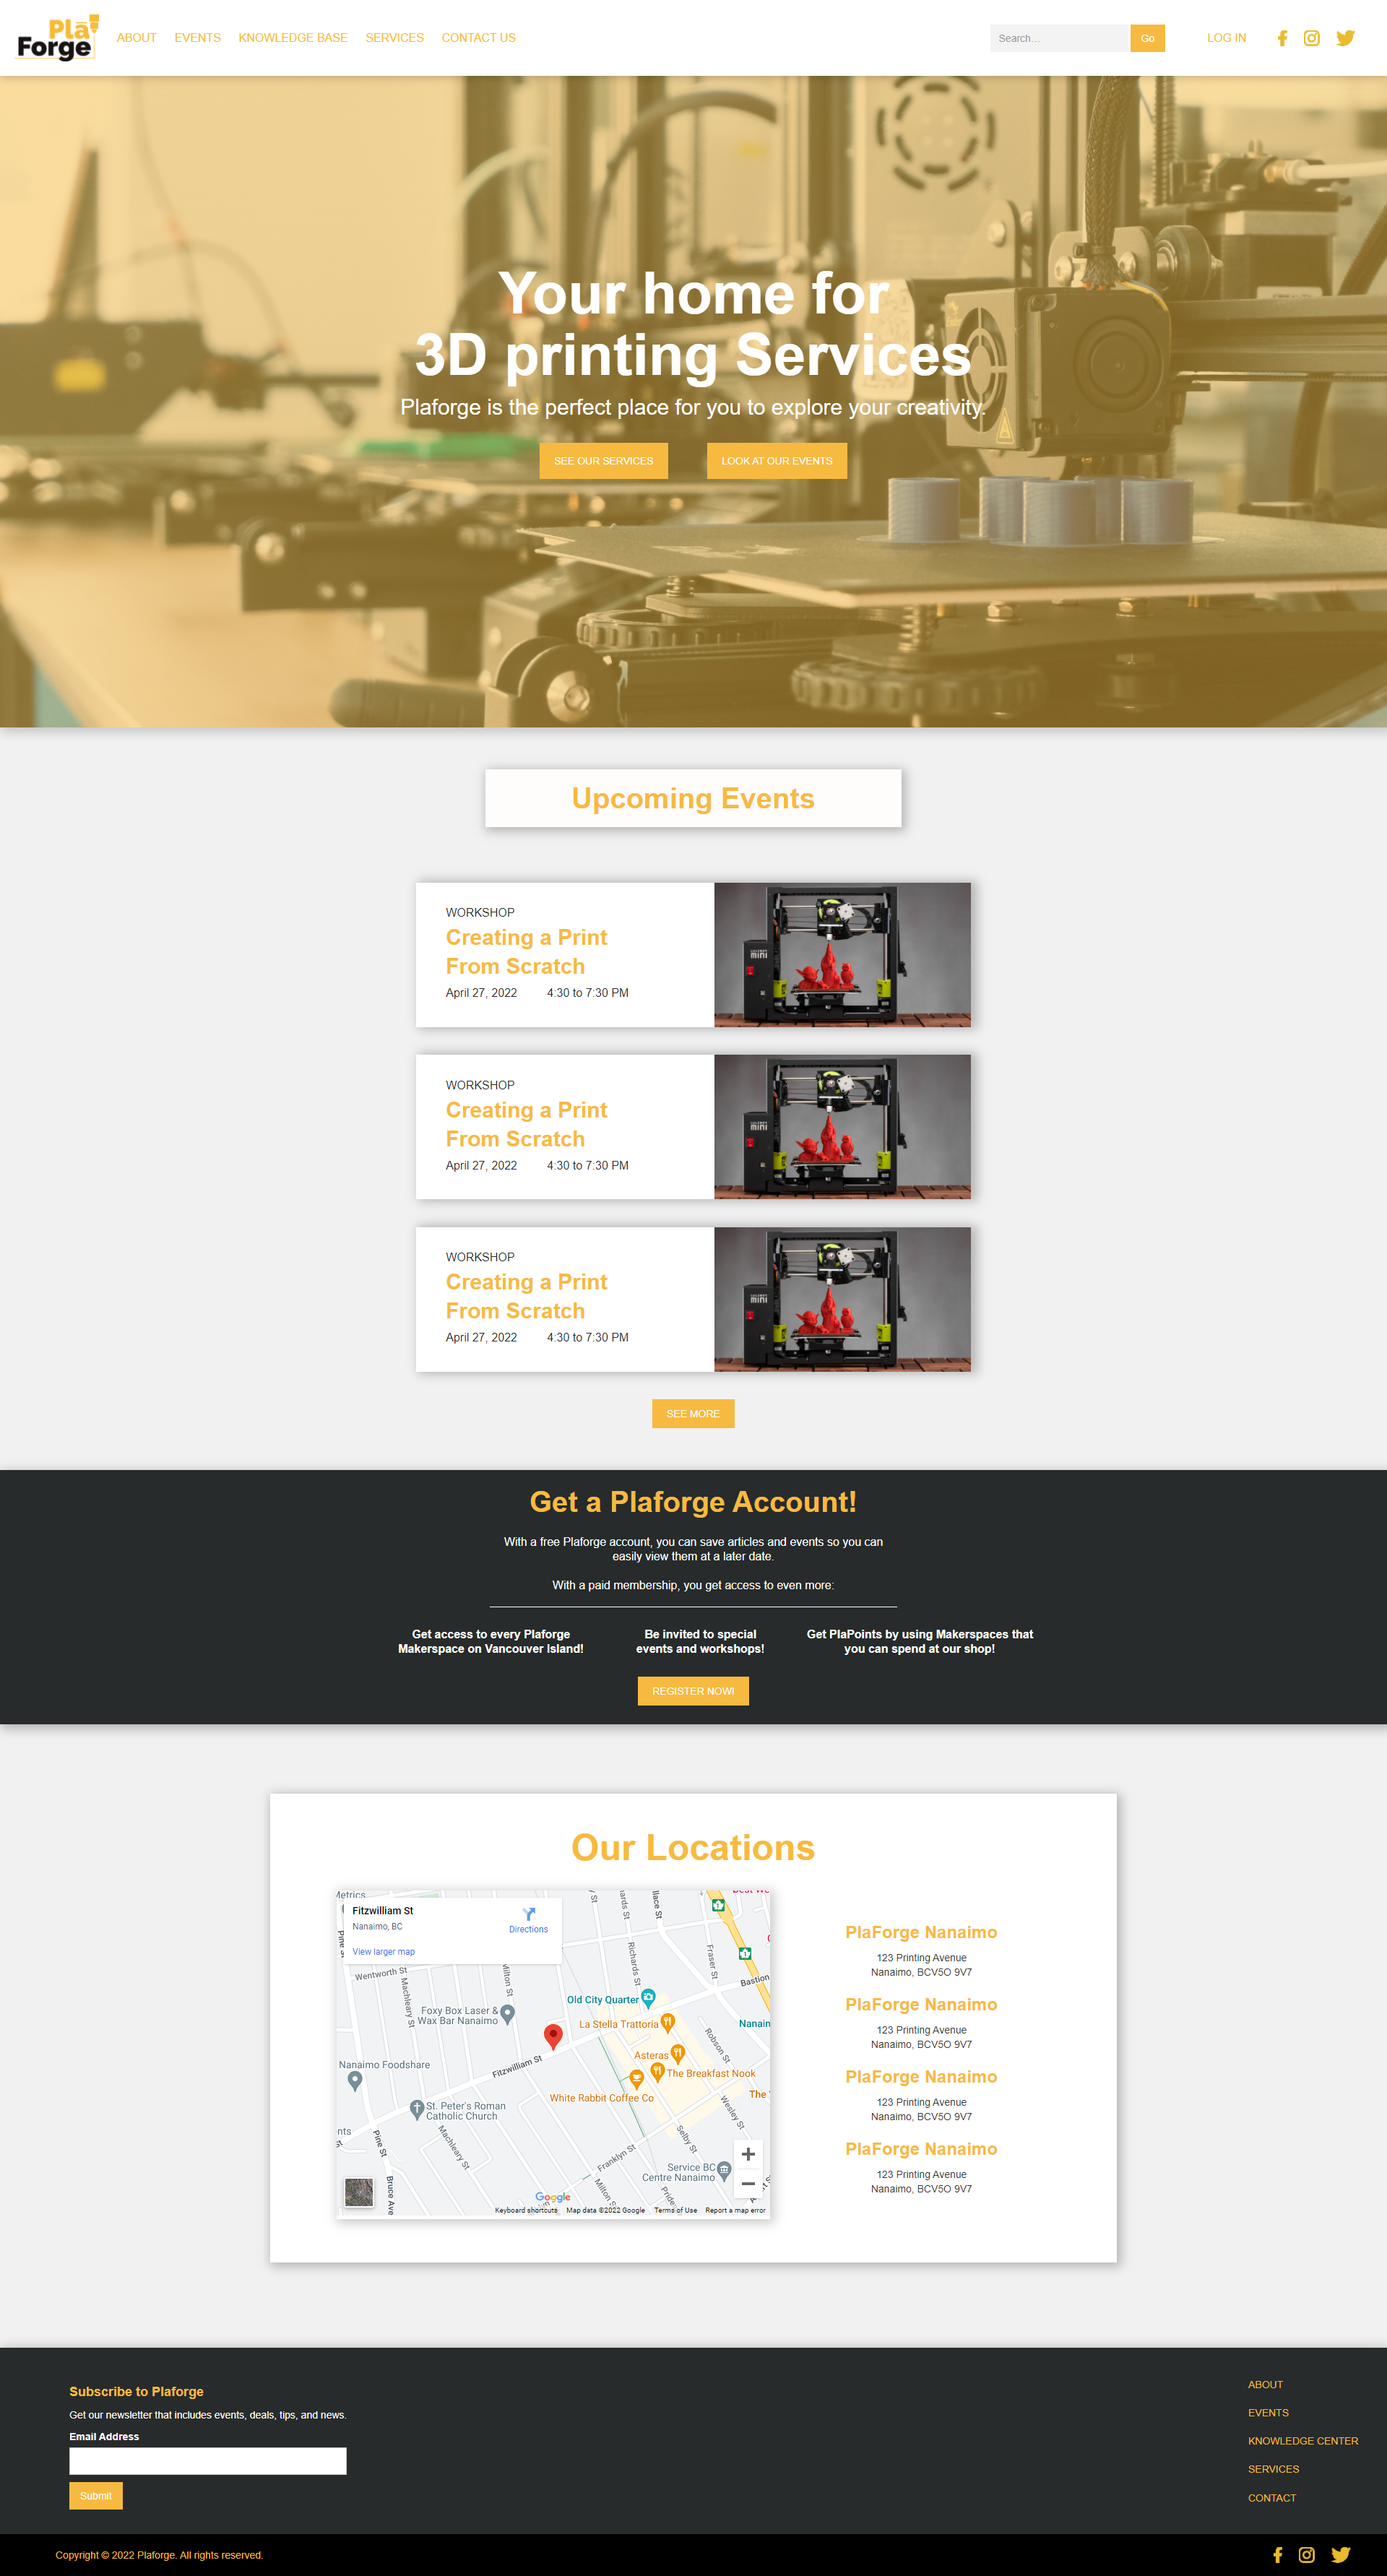
The second part of the project was taking the brand and developing their web presence. My goal for the website was to create a resource for 3D printing hobbyists and professionals alike, while also advertising the services of the Makerspace. The website includes a event page that lists upcoming workshops and other Makerspace related events and a knowledge base of 3D printing based tutorials and advice.
The wireframe and mockup were created within Adobe XD, while the final product was built up in Webflow.
The wireframe and mockup were created within Adobe XD, while the final product was built up in Webflow.
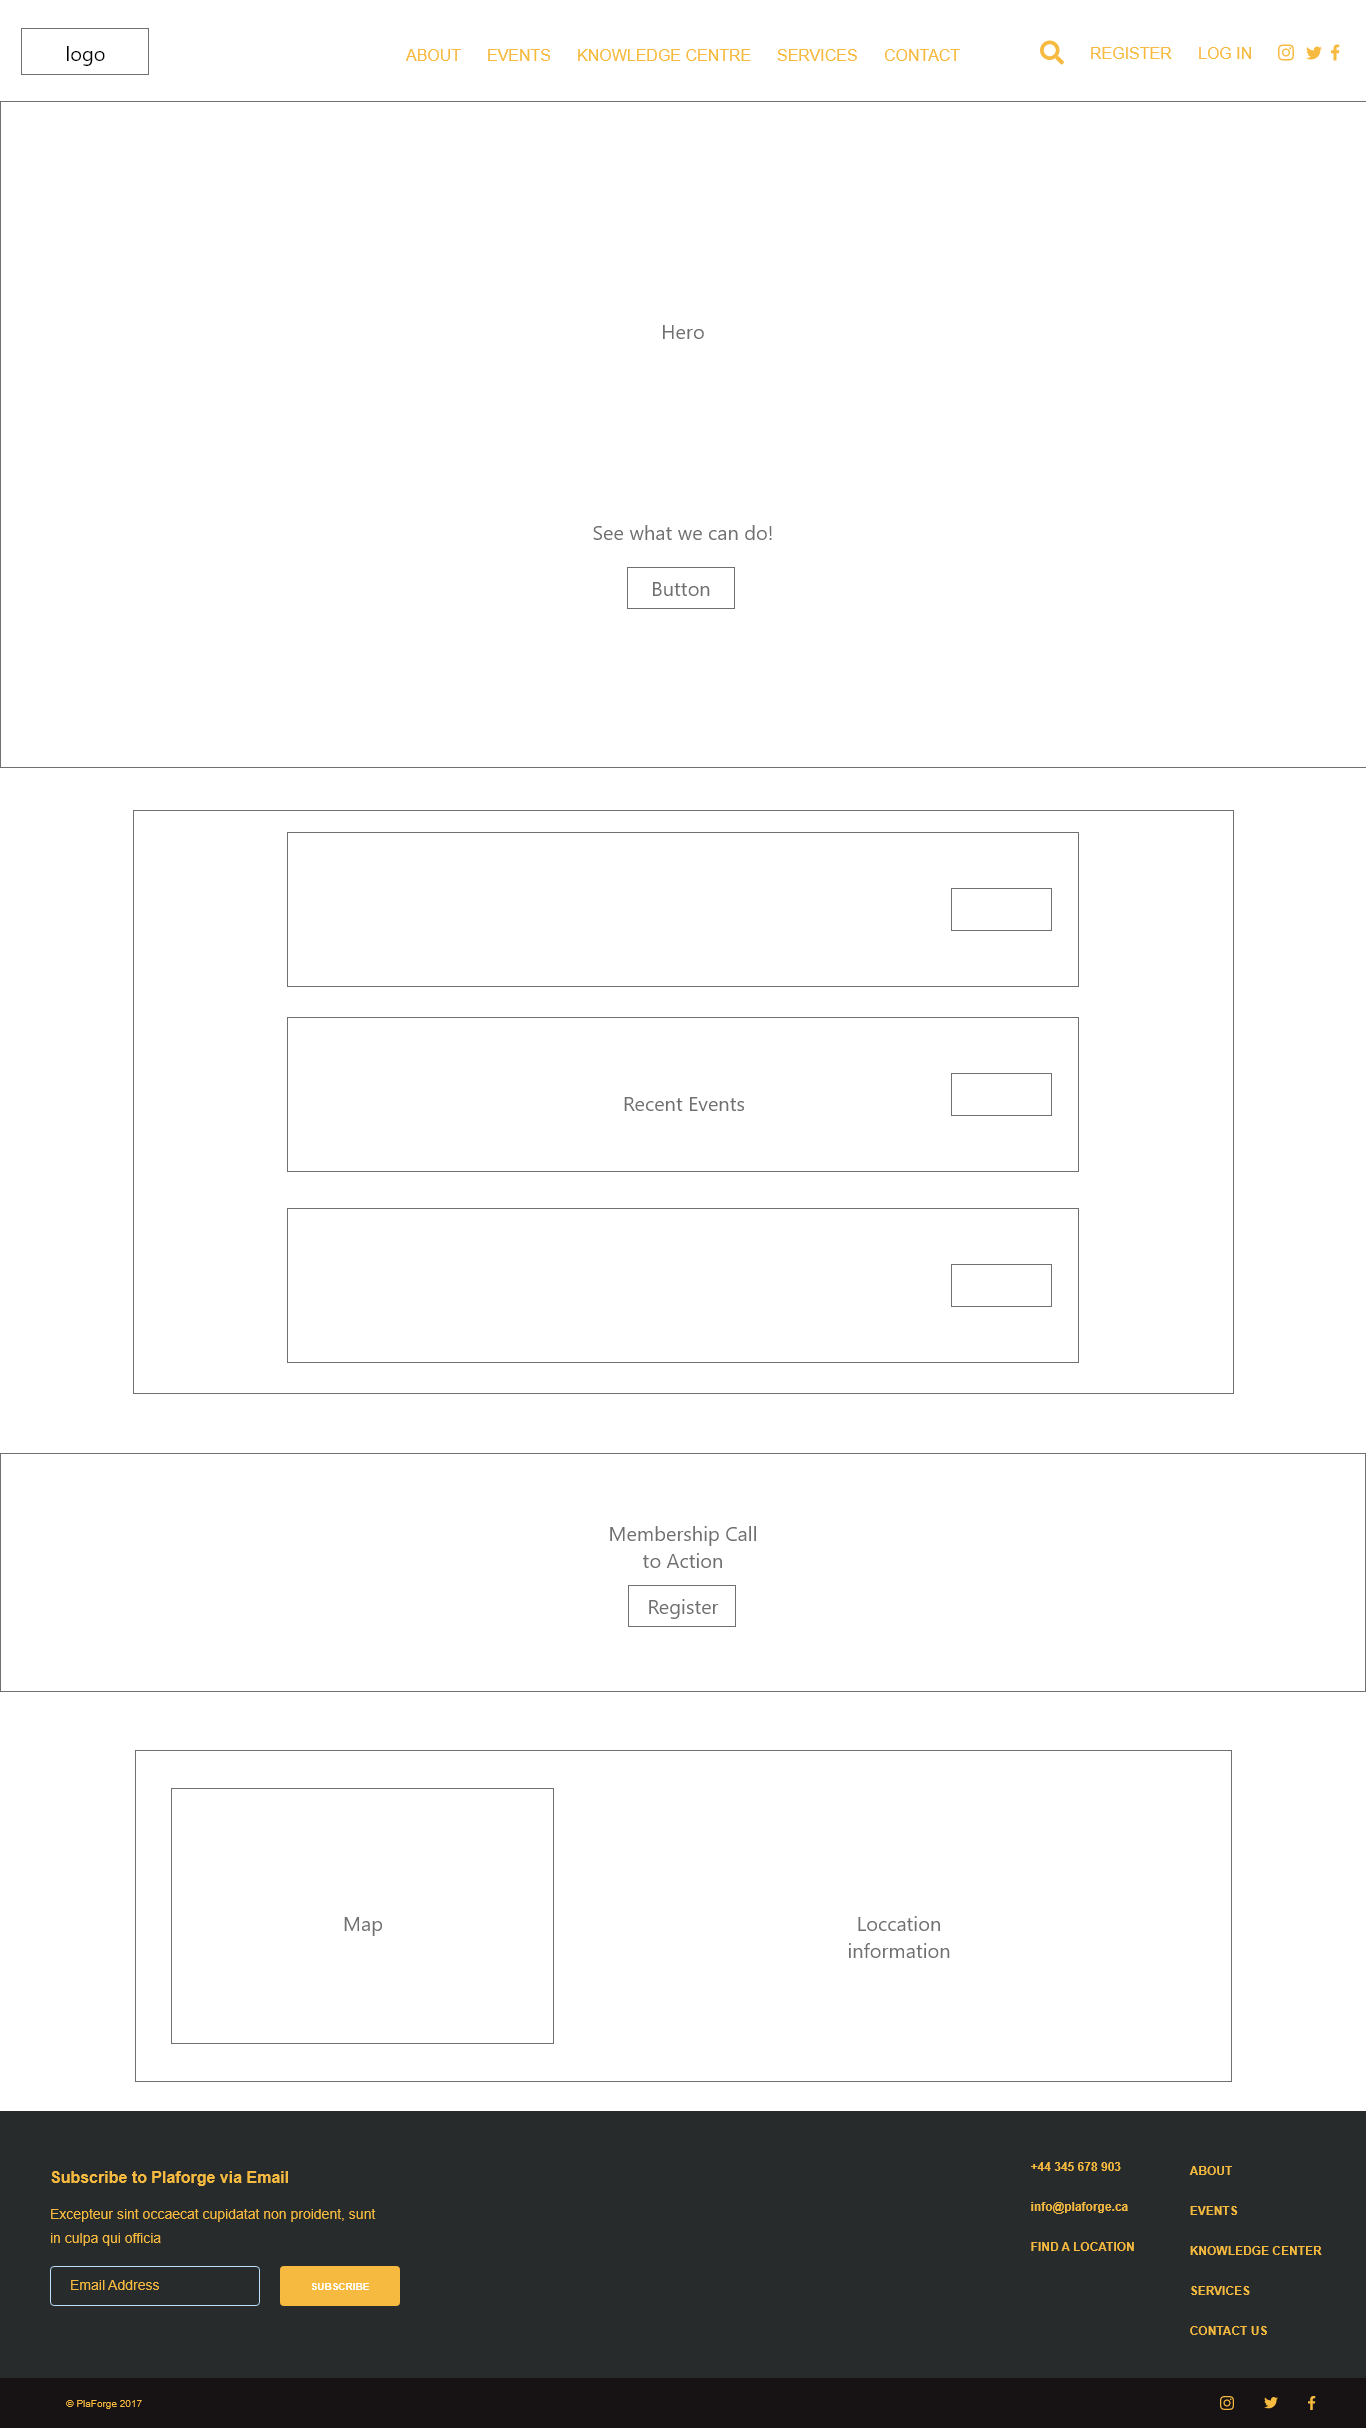
Homepage, wireframe
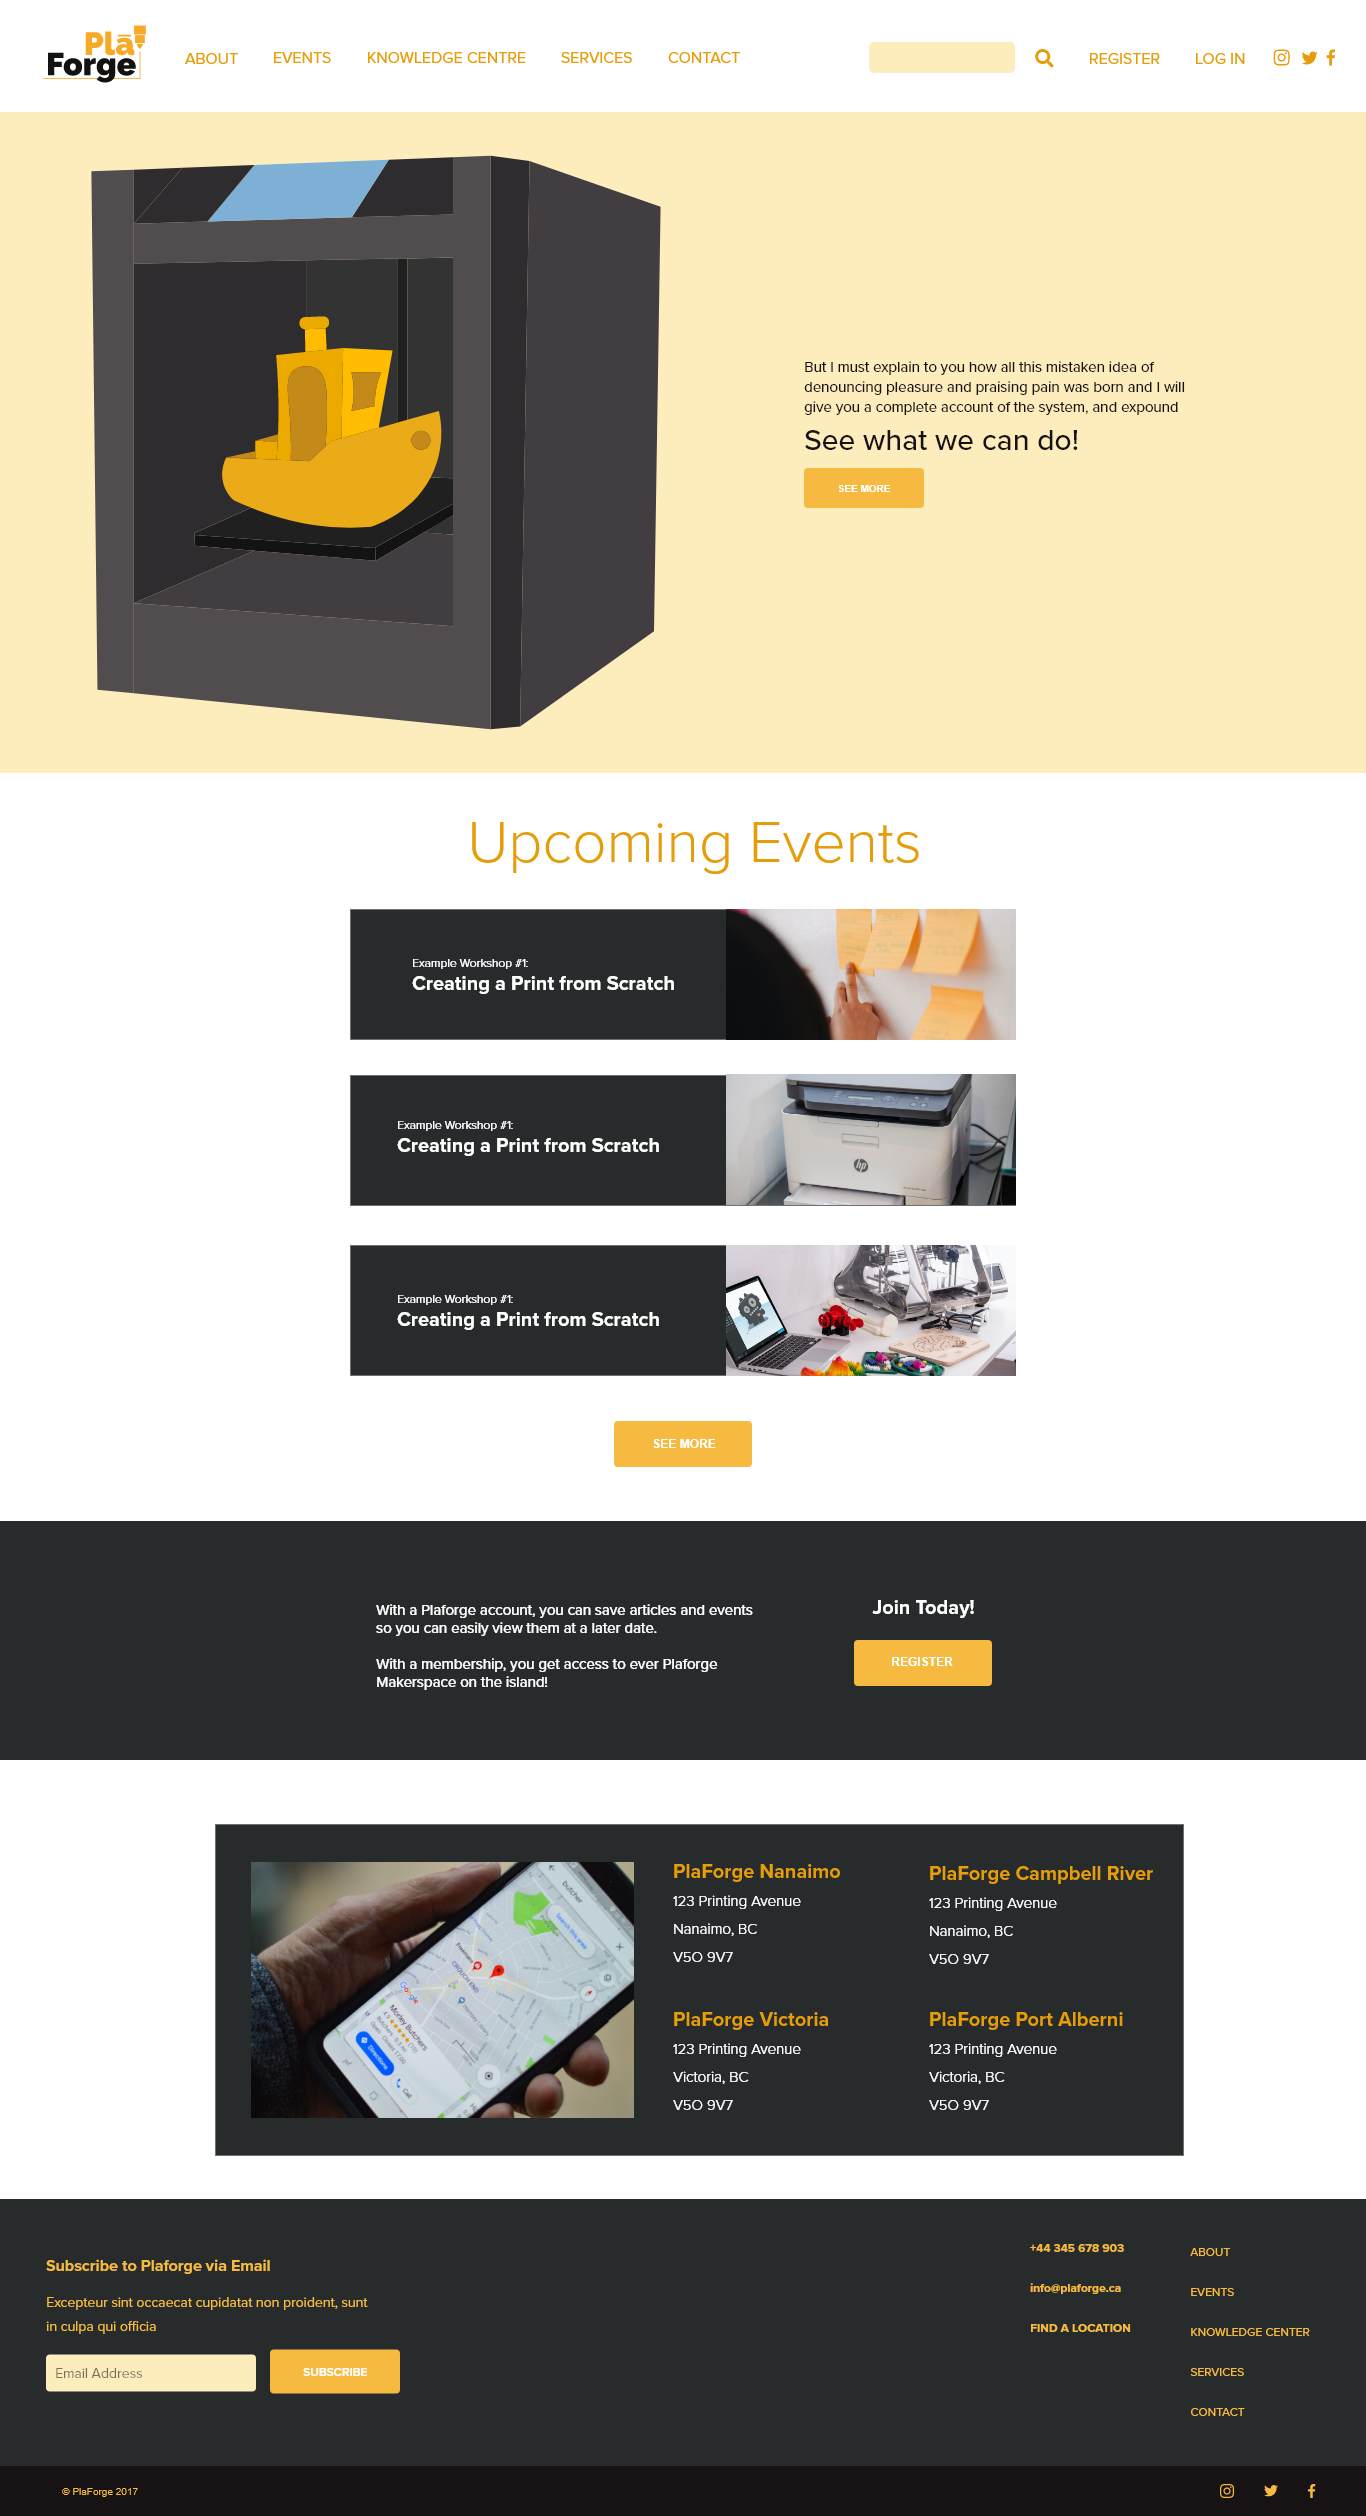
Homepage, XD mockup